The classic Victoria sponge is the first proper cake most people learn, and it stays useful for life: two light sponges, a layer of good jam, a dusting of sugar. There’s no icing to fuss over and no decoration to get wrong — which is exactly why it’s worth getting the basics right. This is the equal-weights method, the way it’s been made for generations, with the few small things that make the difference between a flat, dense sponge and a tall, tender one.
I’ve baked bread at home for twenty-five years, and the habits that make good bread — weighing properly, knowing your oven’s real temperature, not rushing — are the same ones that make a good sponge. A Victoria sponge asks for almost nothing in equipment: two matching tins, a bowl, and either a wooden spoon and some effort or a mixer. Get the method right once and you’ll never need a recipe card again.
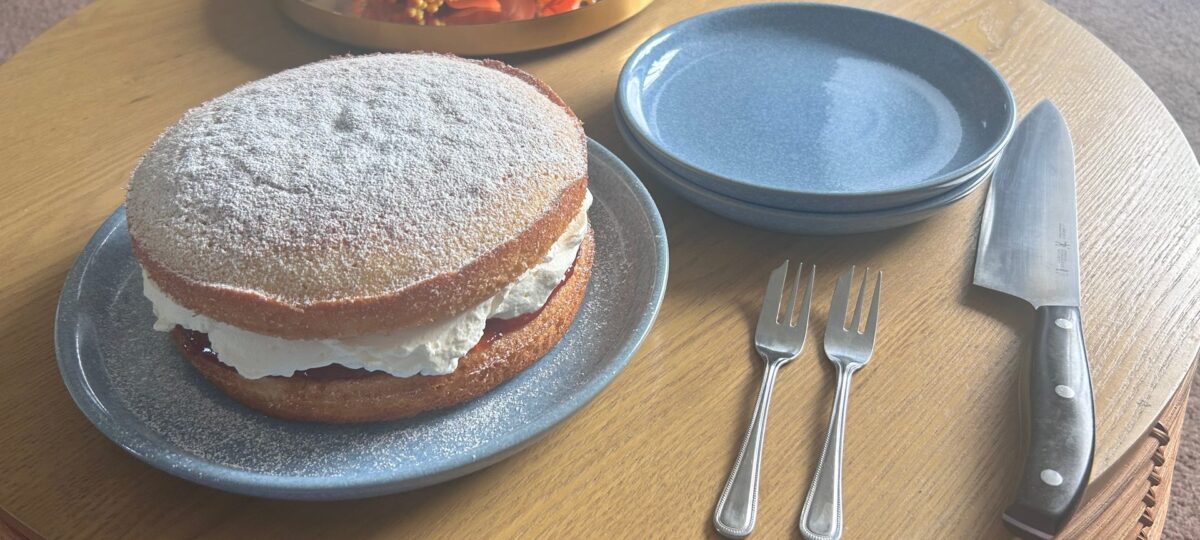
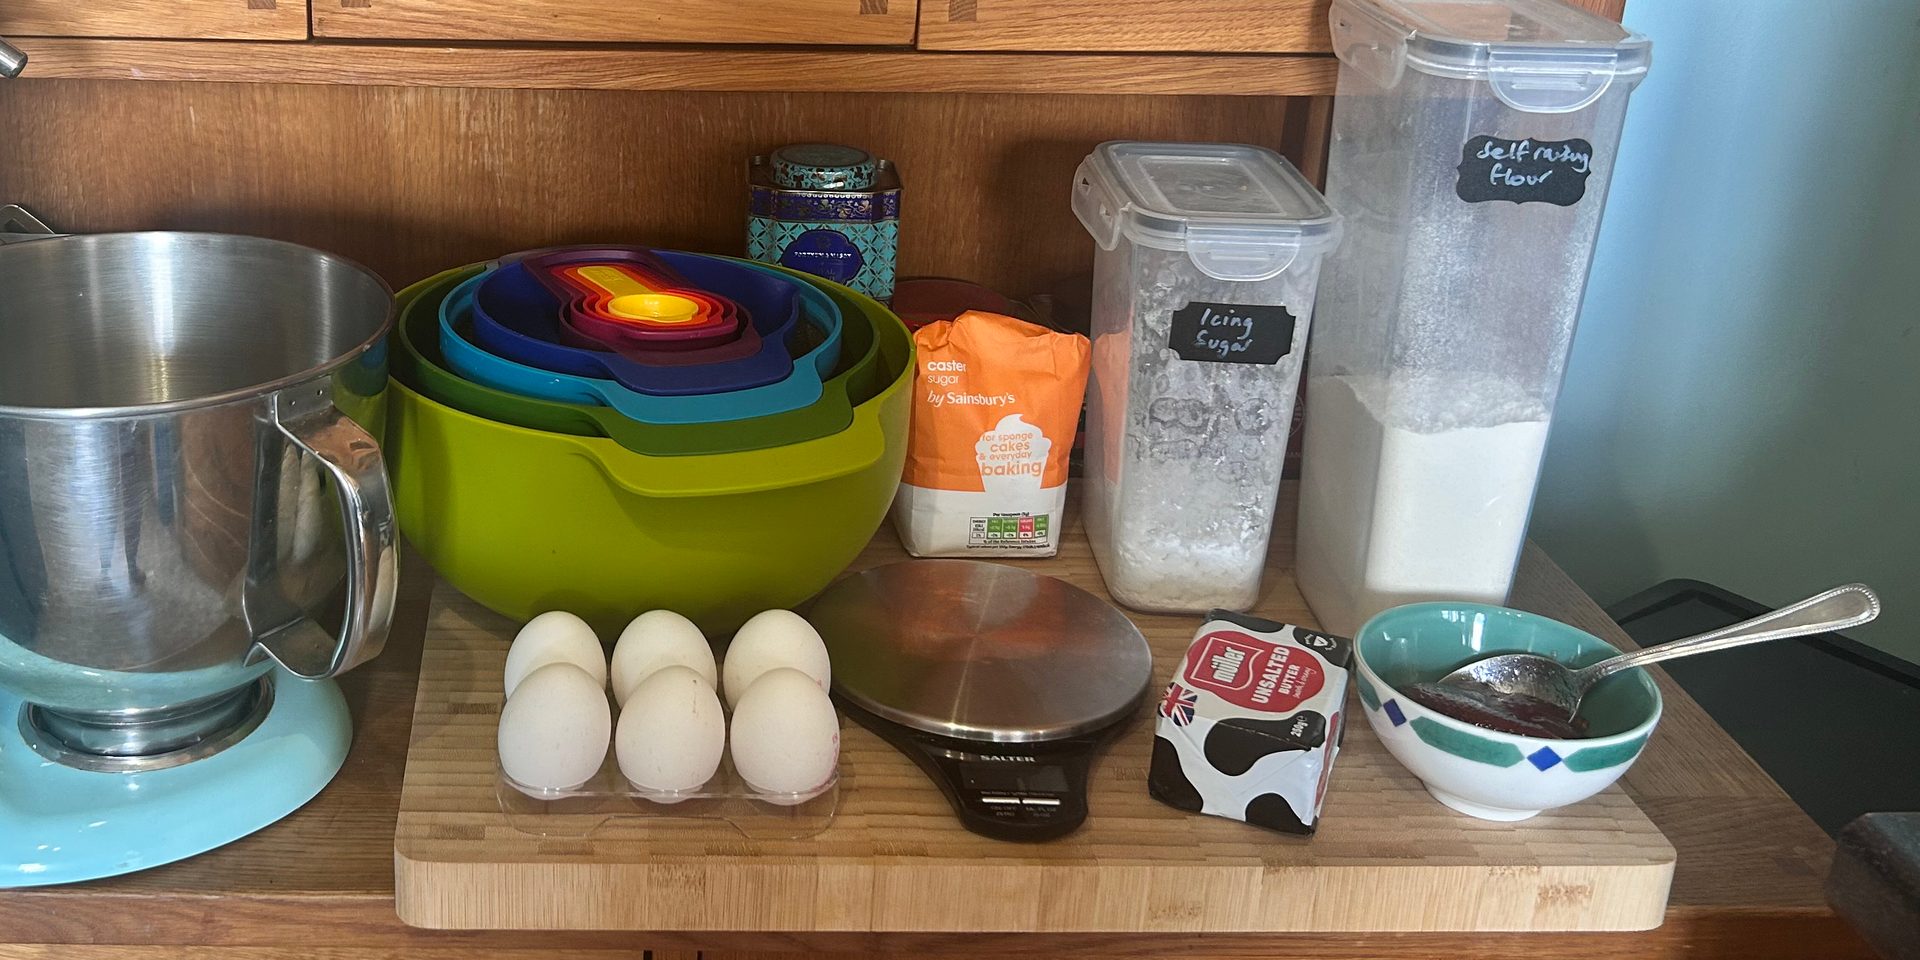
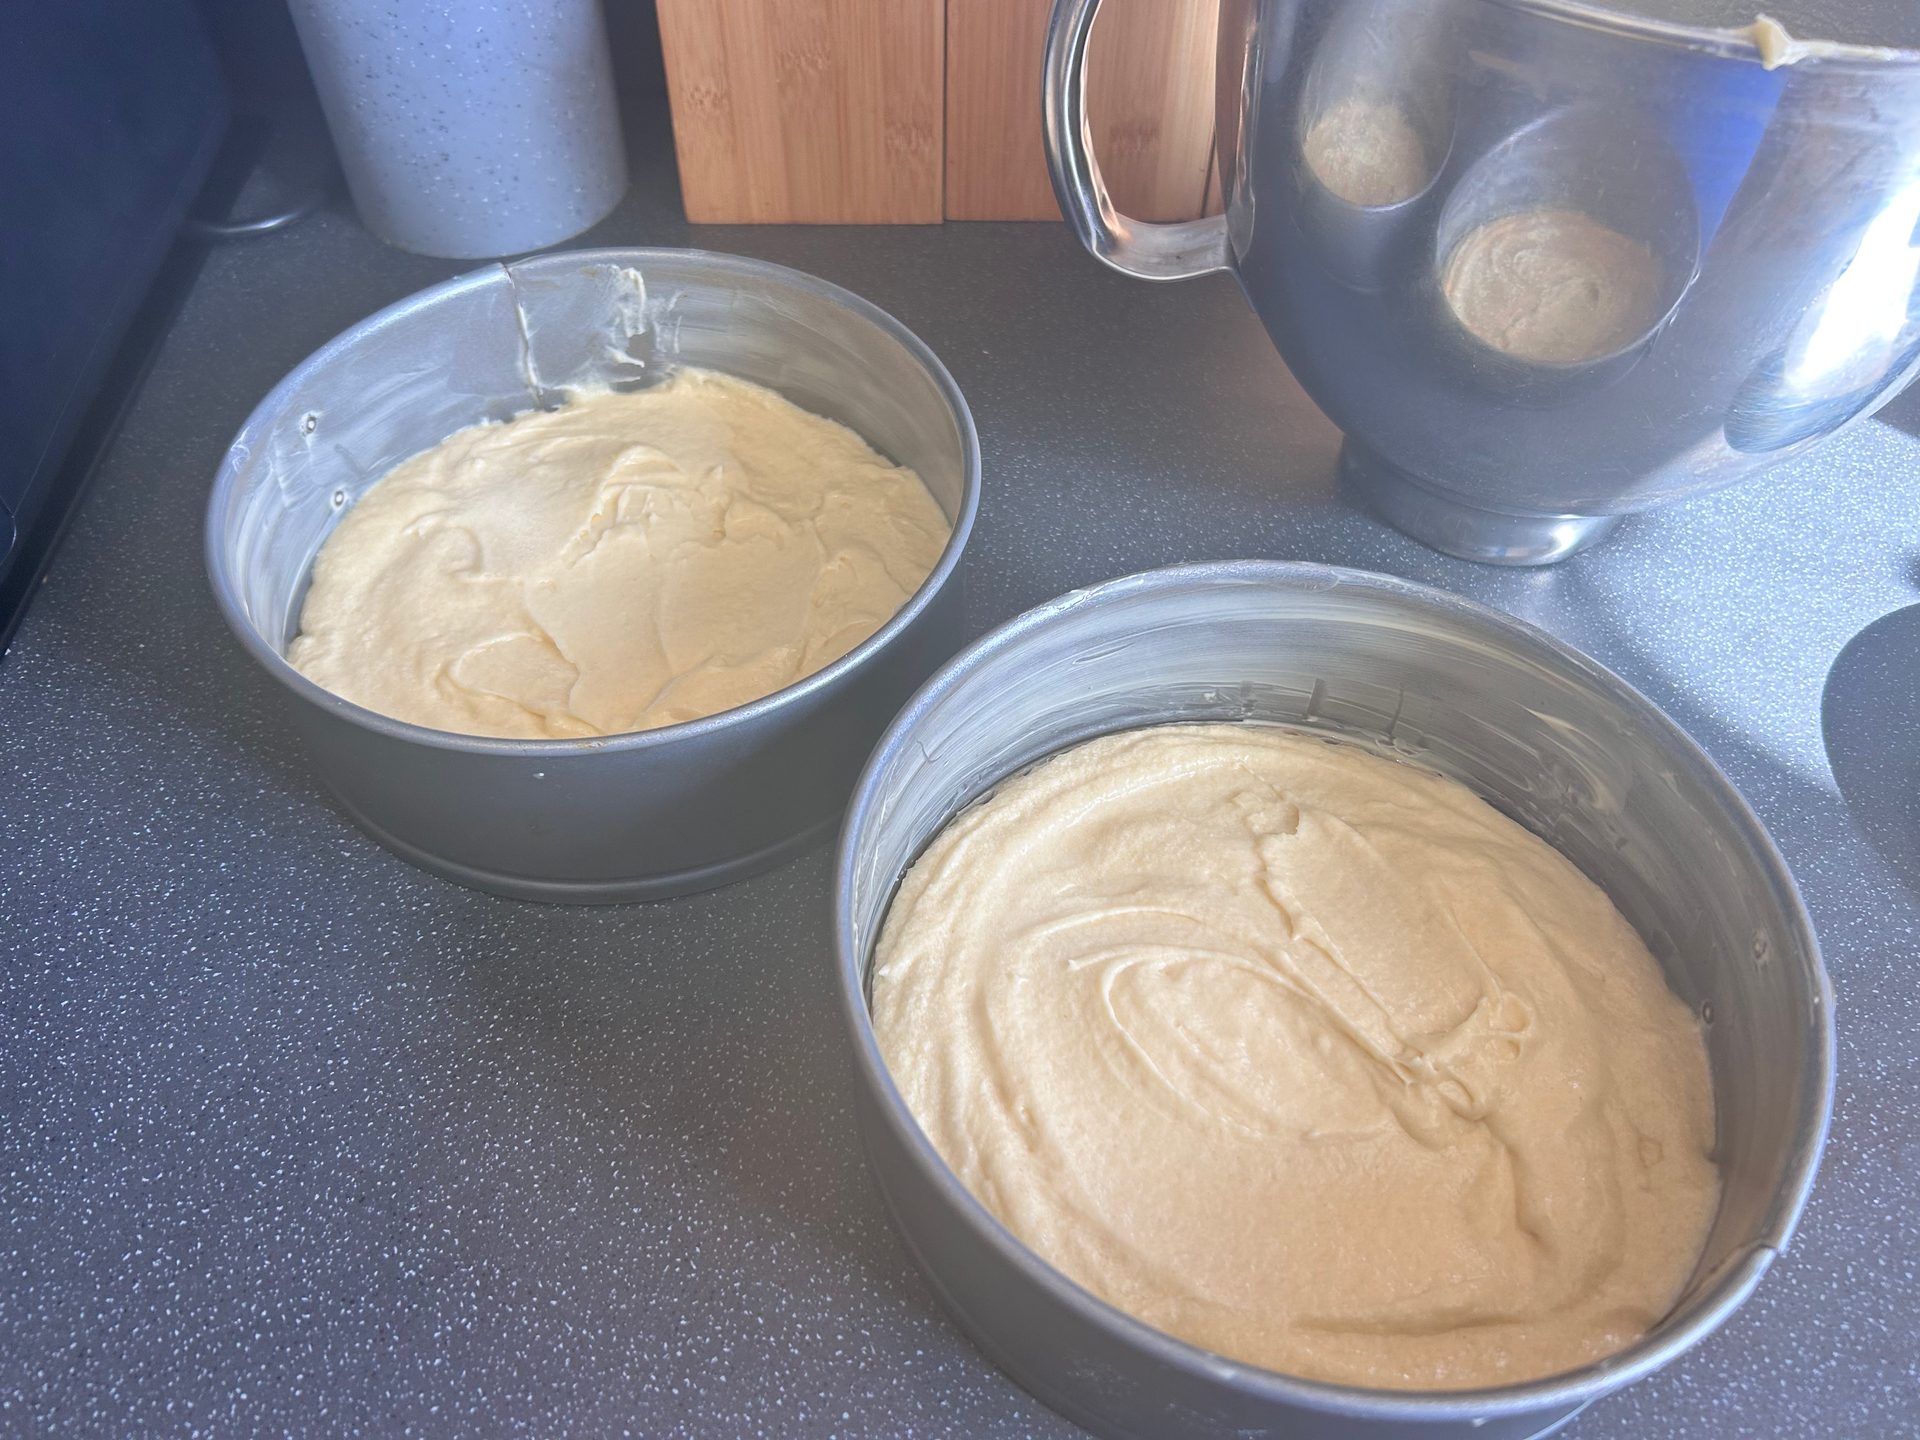
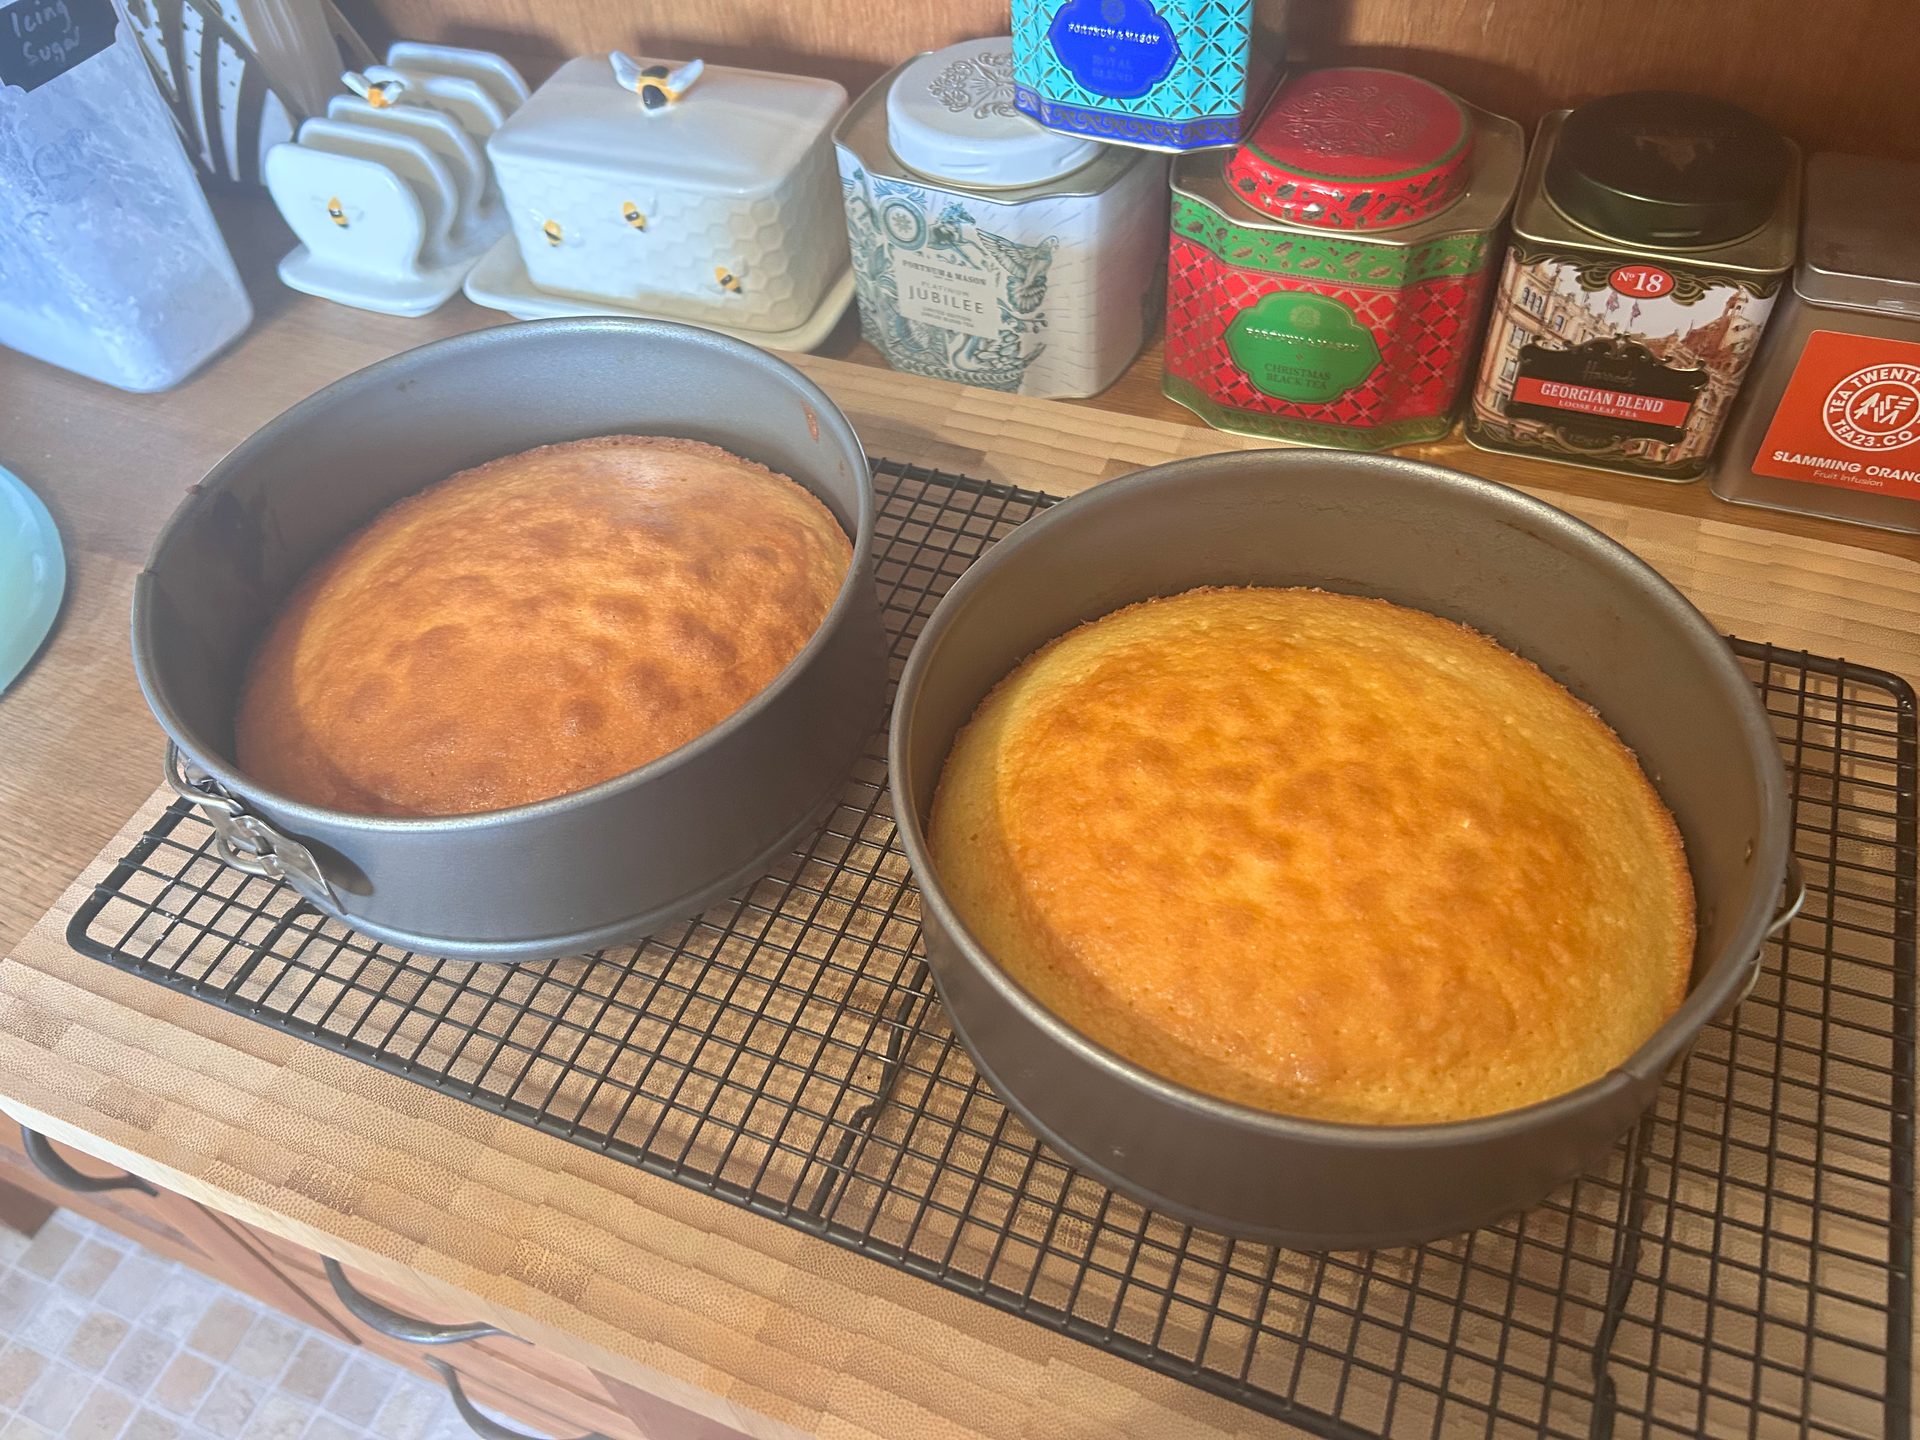
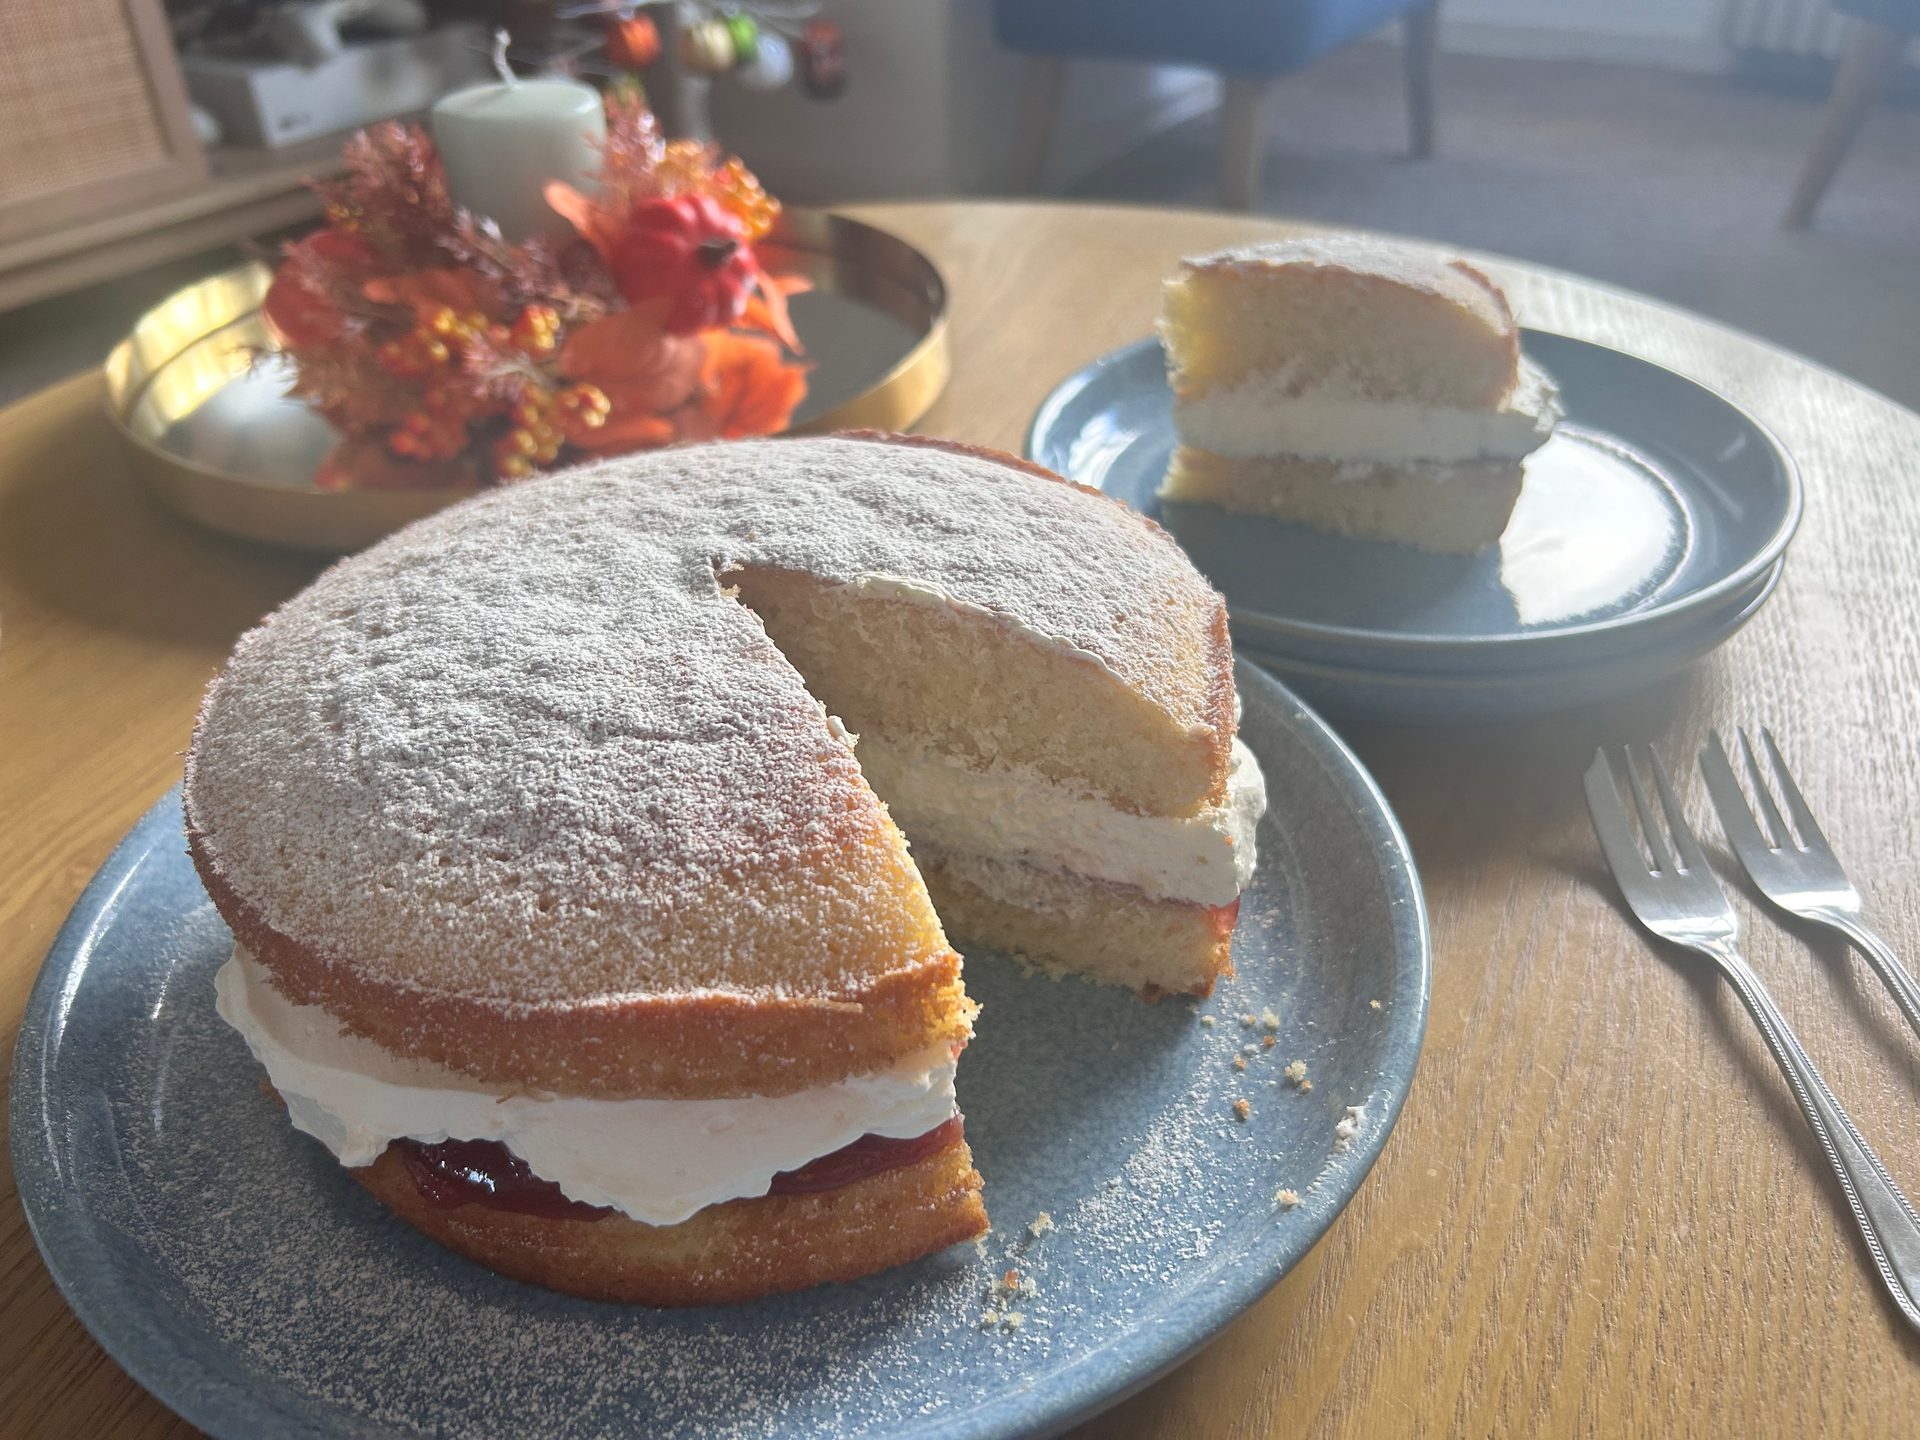
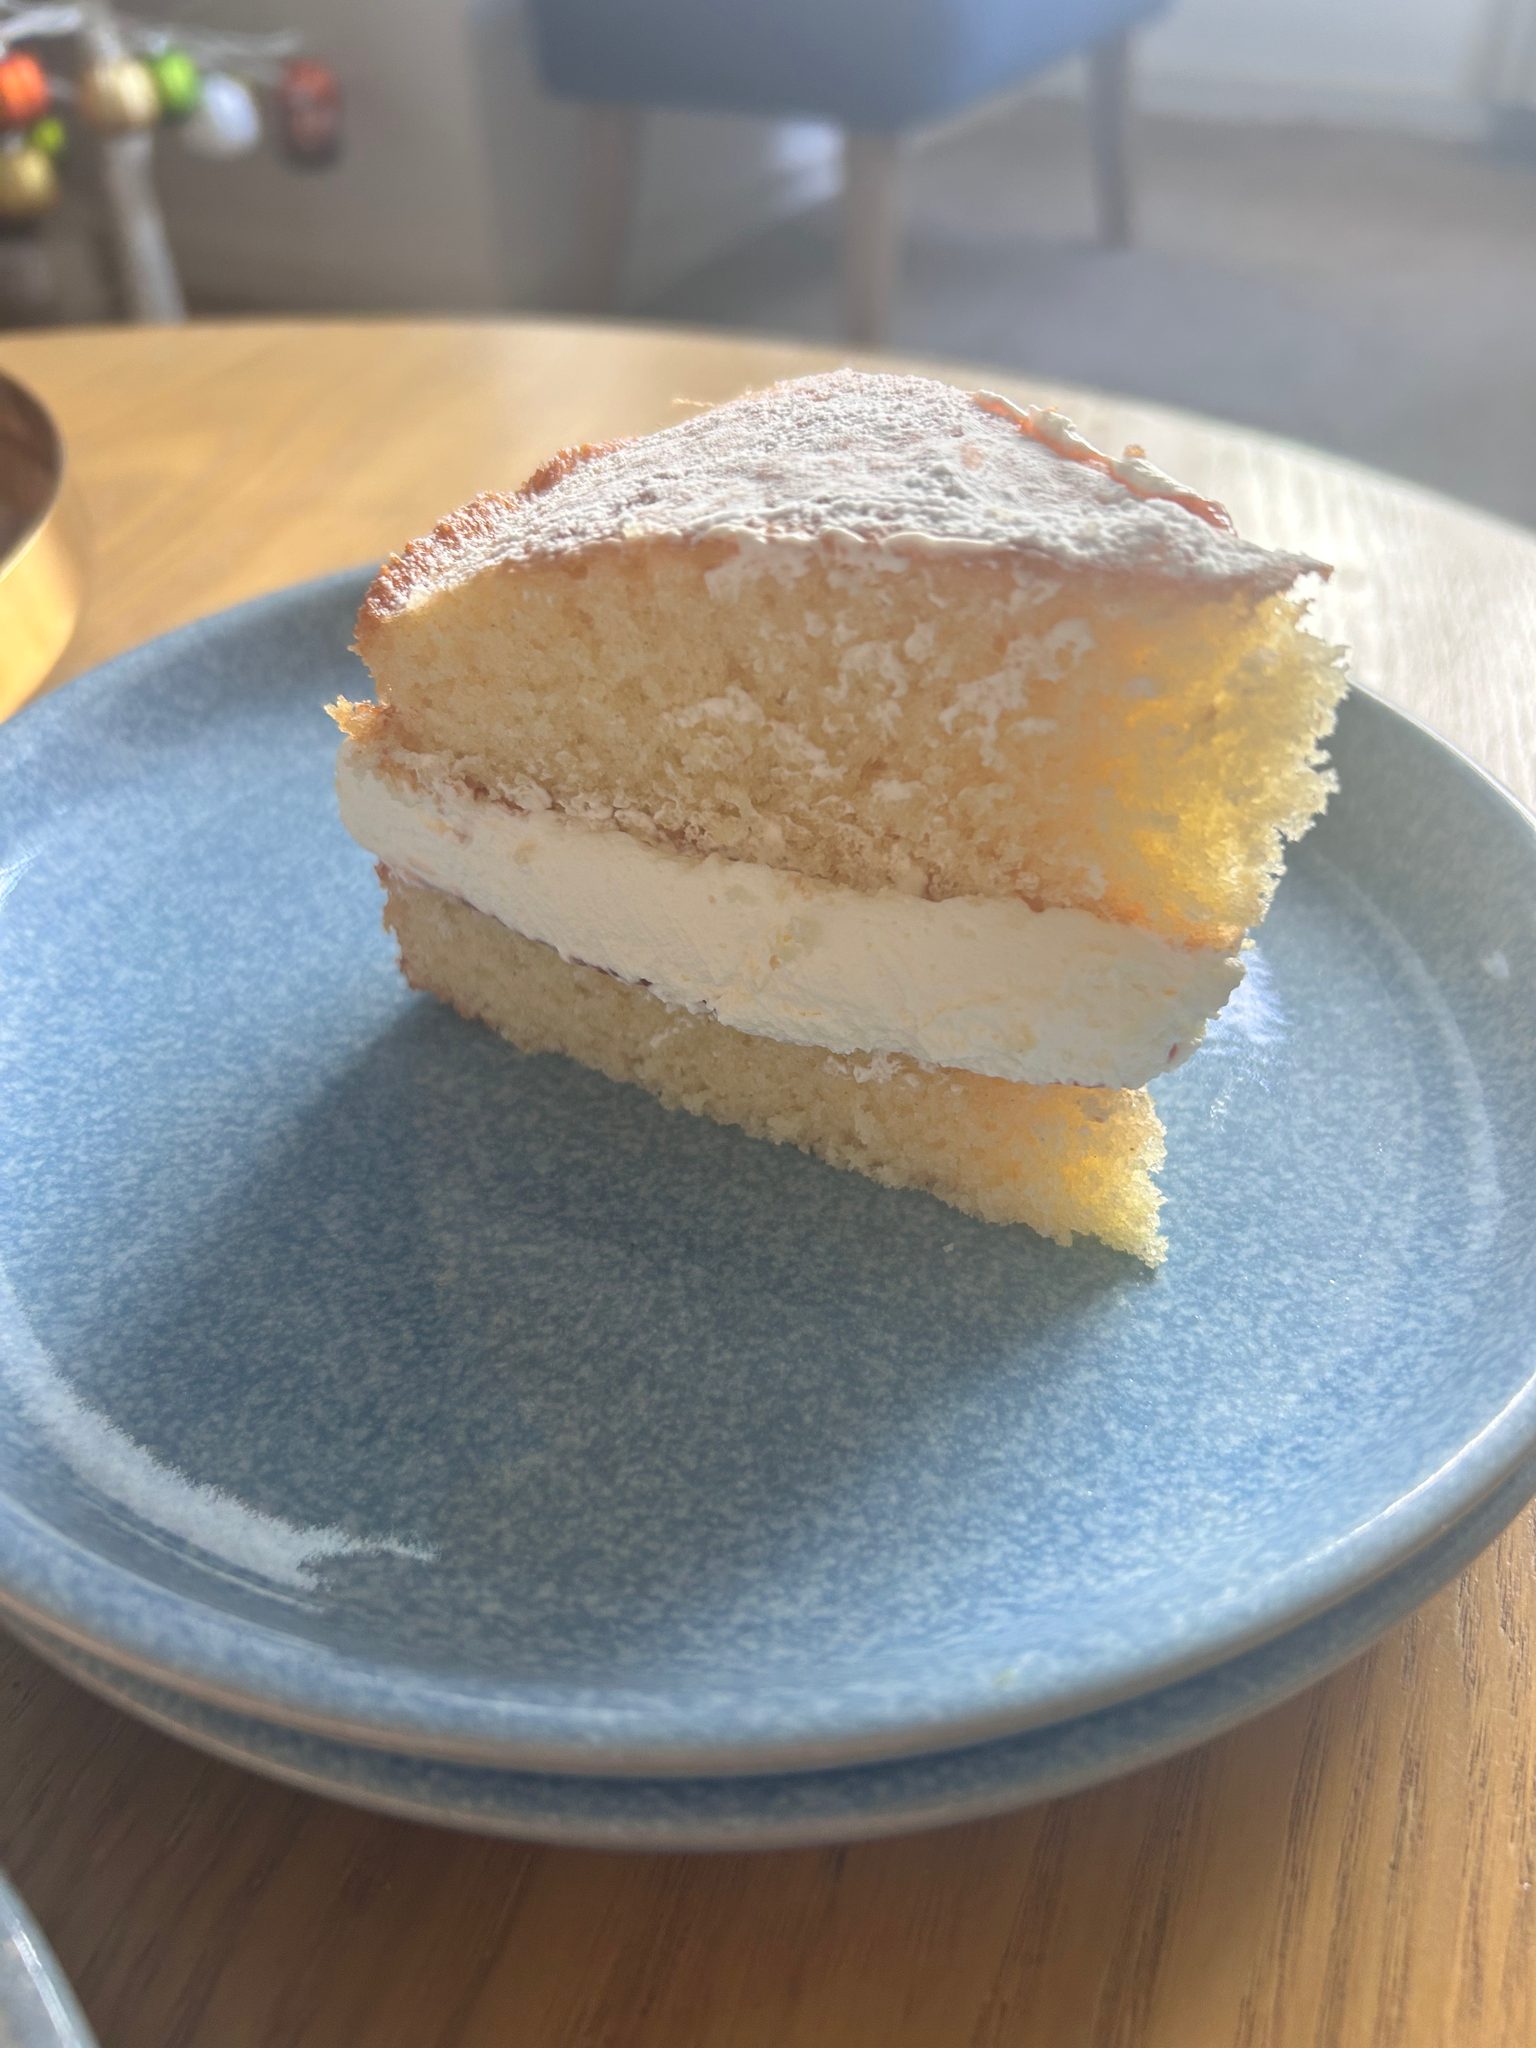
Baked 10 October 2026. My wife, Clare, baked this sponge from the recipe exactly as written, in a conventional oven at 180°C. Both sponges were done in 20 minutes, the start of the range in the method. She filled it with whipped double cream as well as jam (see Variations below) and took all the photos on this page.
Classic Victoria Sponge
The equal-weights method: equal quantities of butter, sugar and self-raising flour to four eggs, split between two tins and sandwiched with jam. Light, reliable and quietly impressive.
Ingredients
- Unsalted butter, softened200 g
- Caster sugar200 g
- Self-raising flour200 g
- Medium eggs, room temperature4
- Baking powder1 tsp
- Vanilla extract1 tsp
- Whole milk, to loosen1–2 tbsp
- Raspberry or strawberry jam150 g
- Icing or caster sugar, to dust1 tbsp
Method
- Prep: heat the oven to 180°C / fan 160°C. Grease two 20cm sandwich tins and line the bases with baking paper.
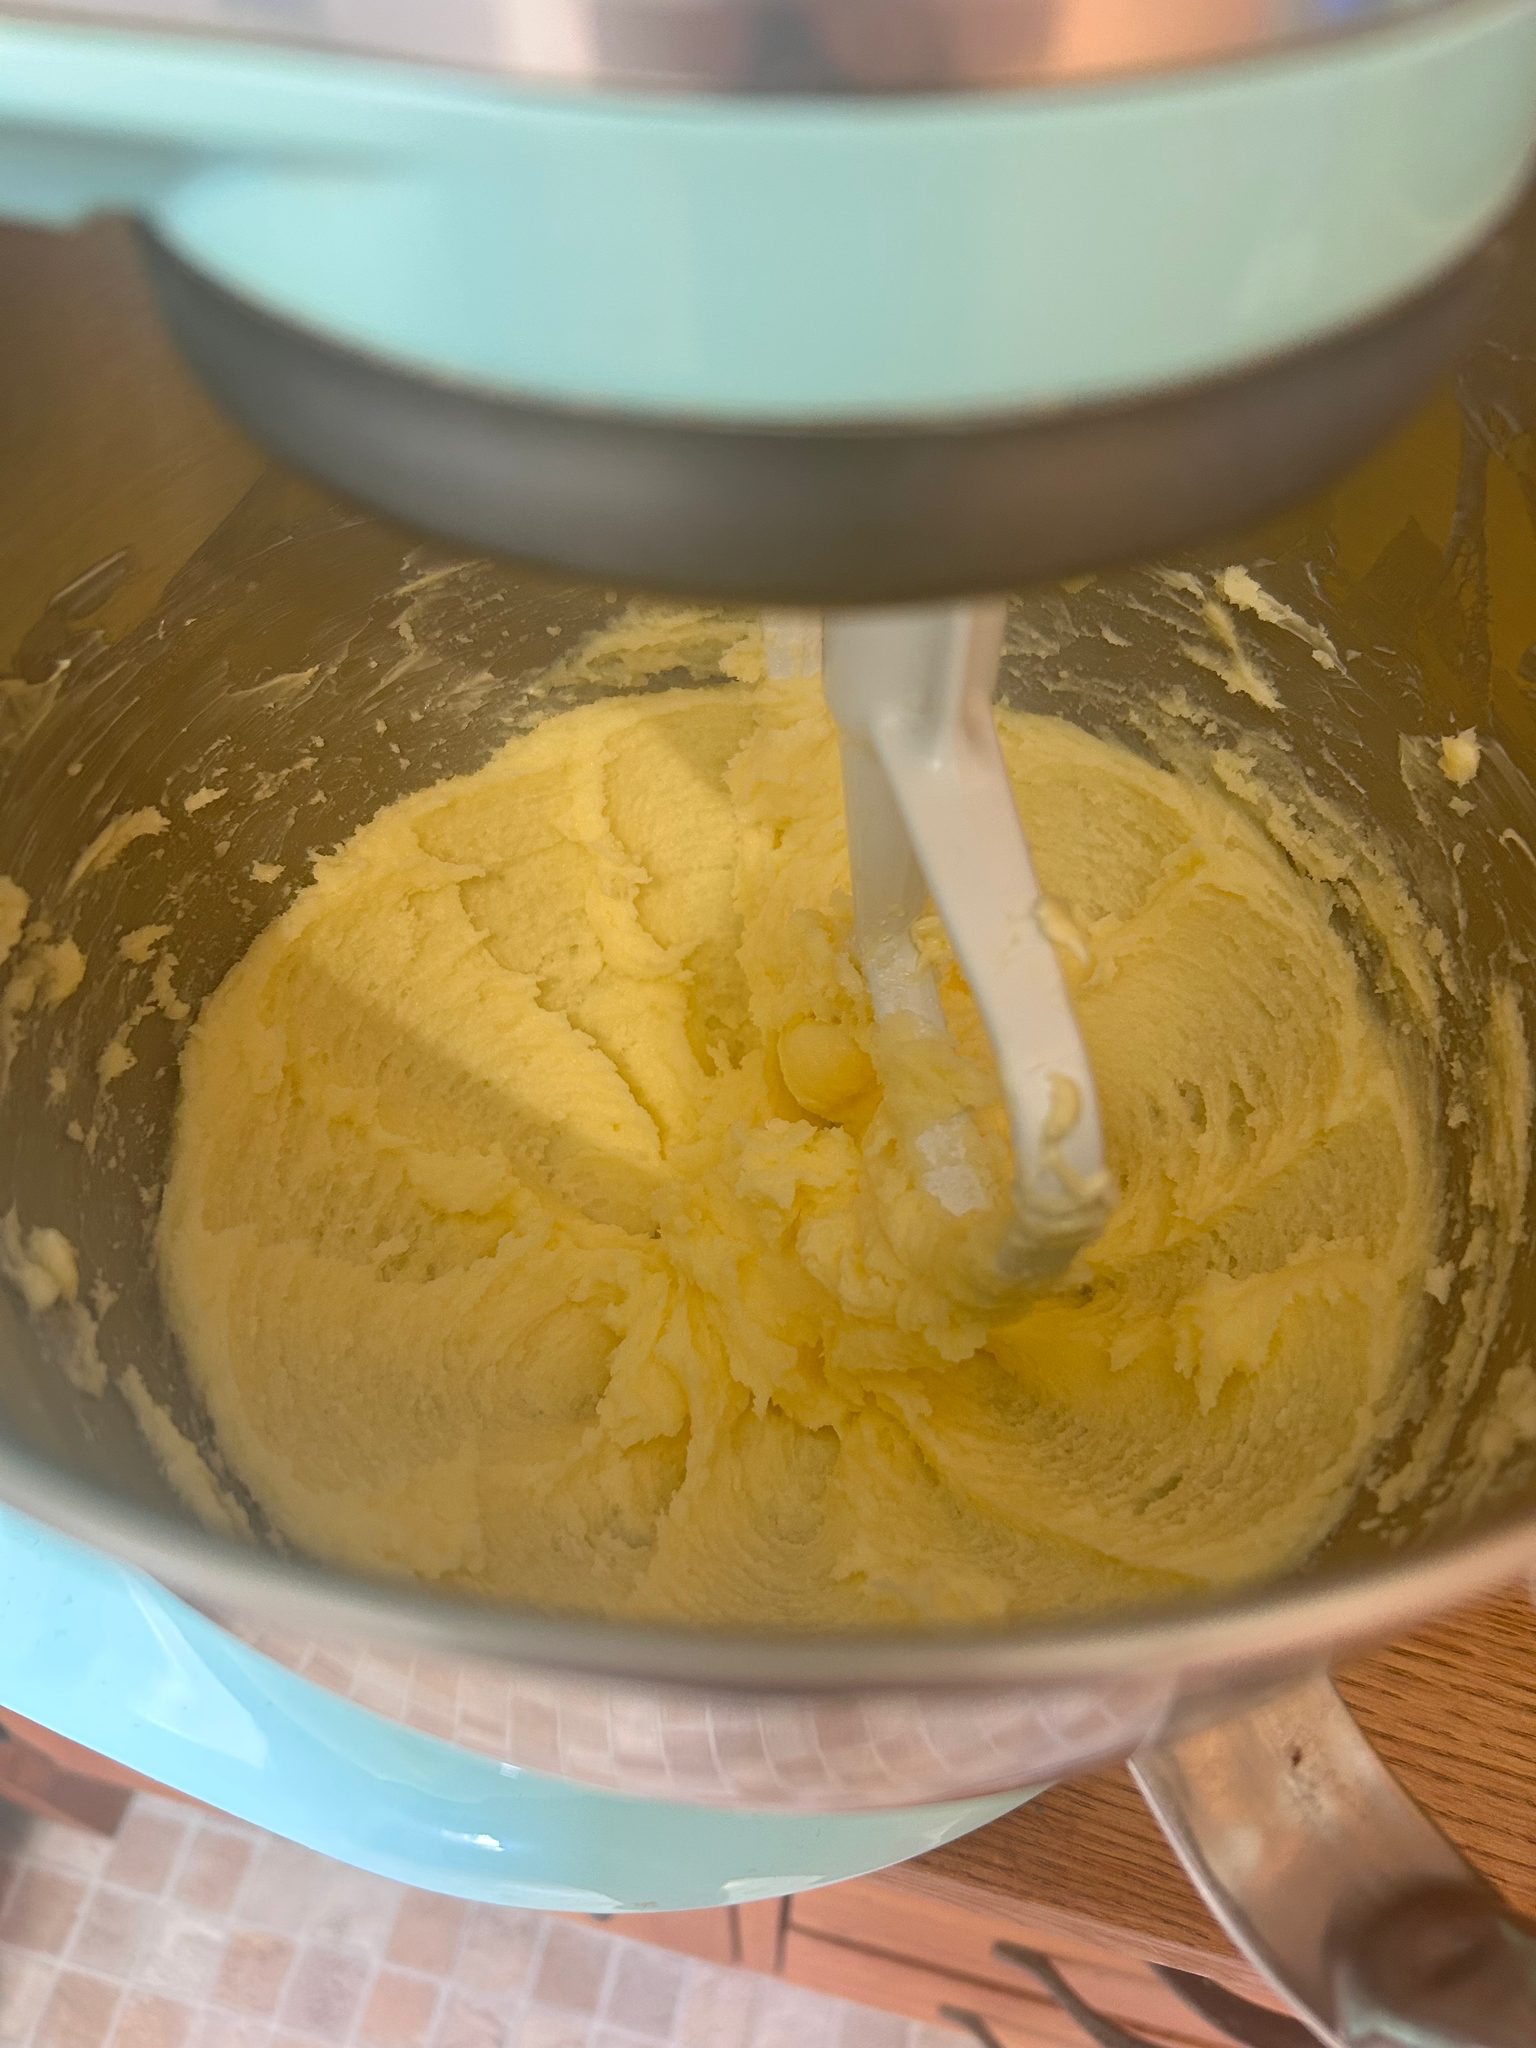
- Cream: beat the butter and sugar together until genuinely pale and fluffy — 3–5 minutes. This is where the air comes from; don’t cut it short.
- Eggs: beat in the eggs one at a time. If the mix looks like it’s curdling, add a tablespoon of the flour.
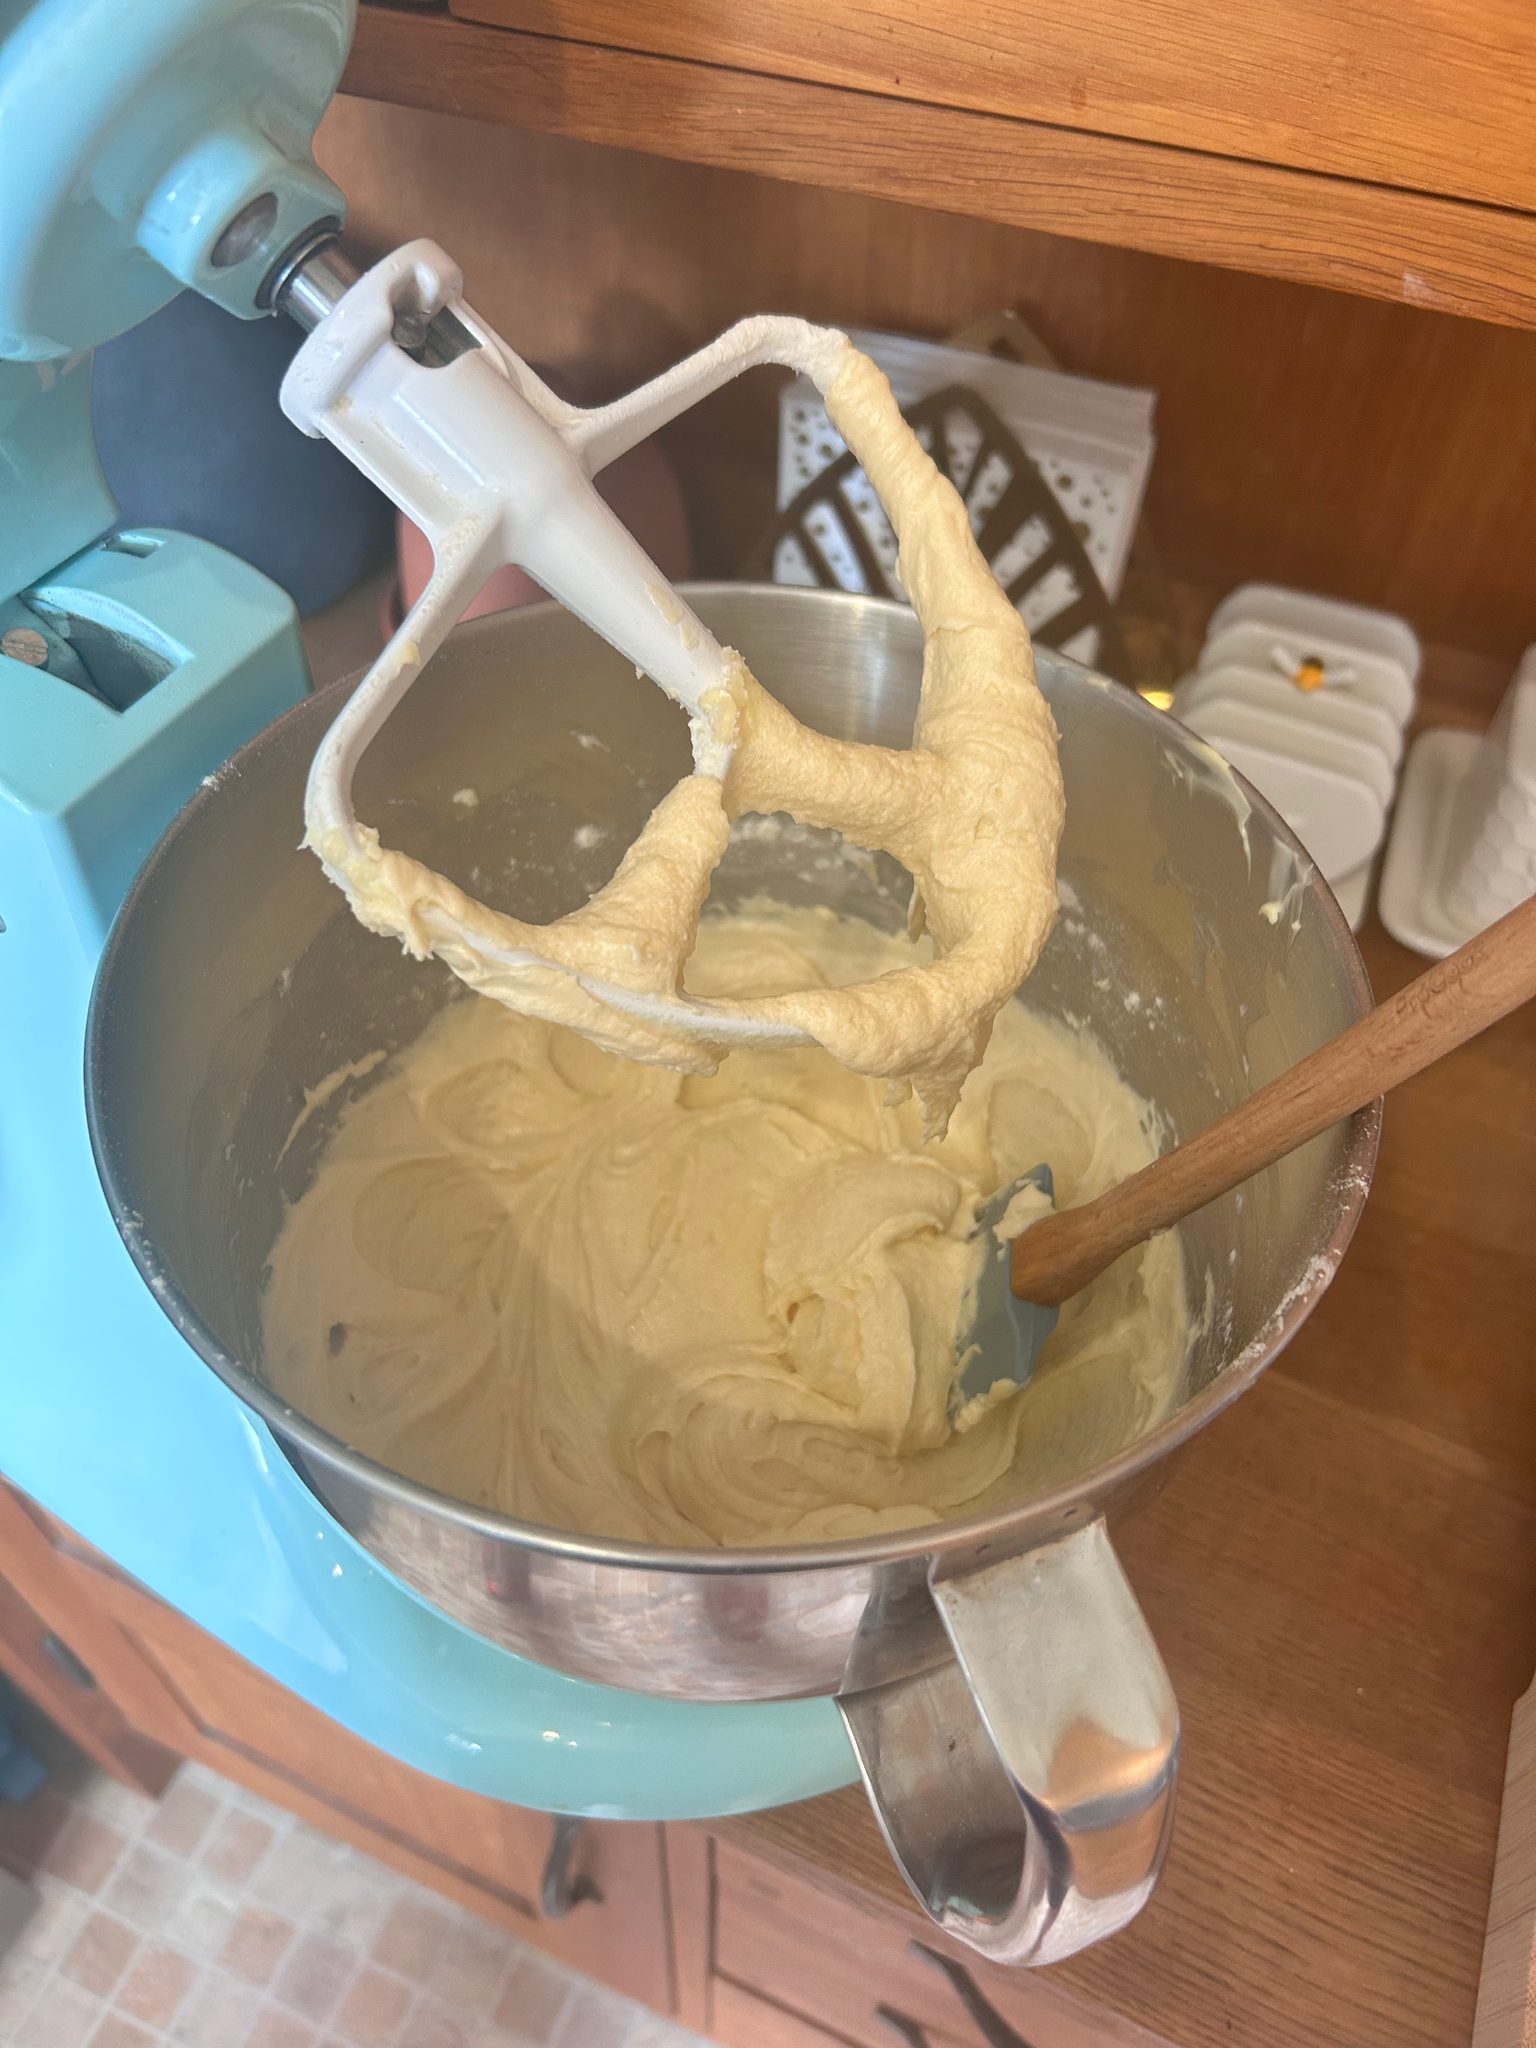
- Fold: sift in the flour and baking powder and fold gently until just combined — stop as soon as the flour disappears. Add the vanilla and enough milk to reach a soft ‘dropping consistency’ (a spoonful drops off in a few seconds).
- Divide: split evenly between the tins (weigh them if you want them level) and smooth the tops.
- Bake: 20–25 min until golden, springing back when pressed, and a skewer comes out clean. Don’t open the oven before 18 minutes.
- Cool: rest 5 minutes in the tin, then turn out onto a rack and cool completely before filling.
- Fill: spread jam on one sponge (add whipped cream or buttercream if you like), top with the second, and dust with sugar.
The equal-weights method (and the egg trick)
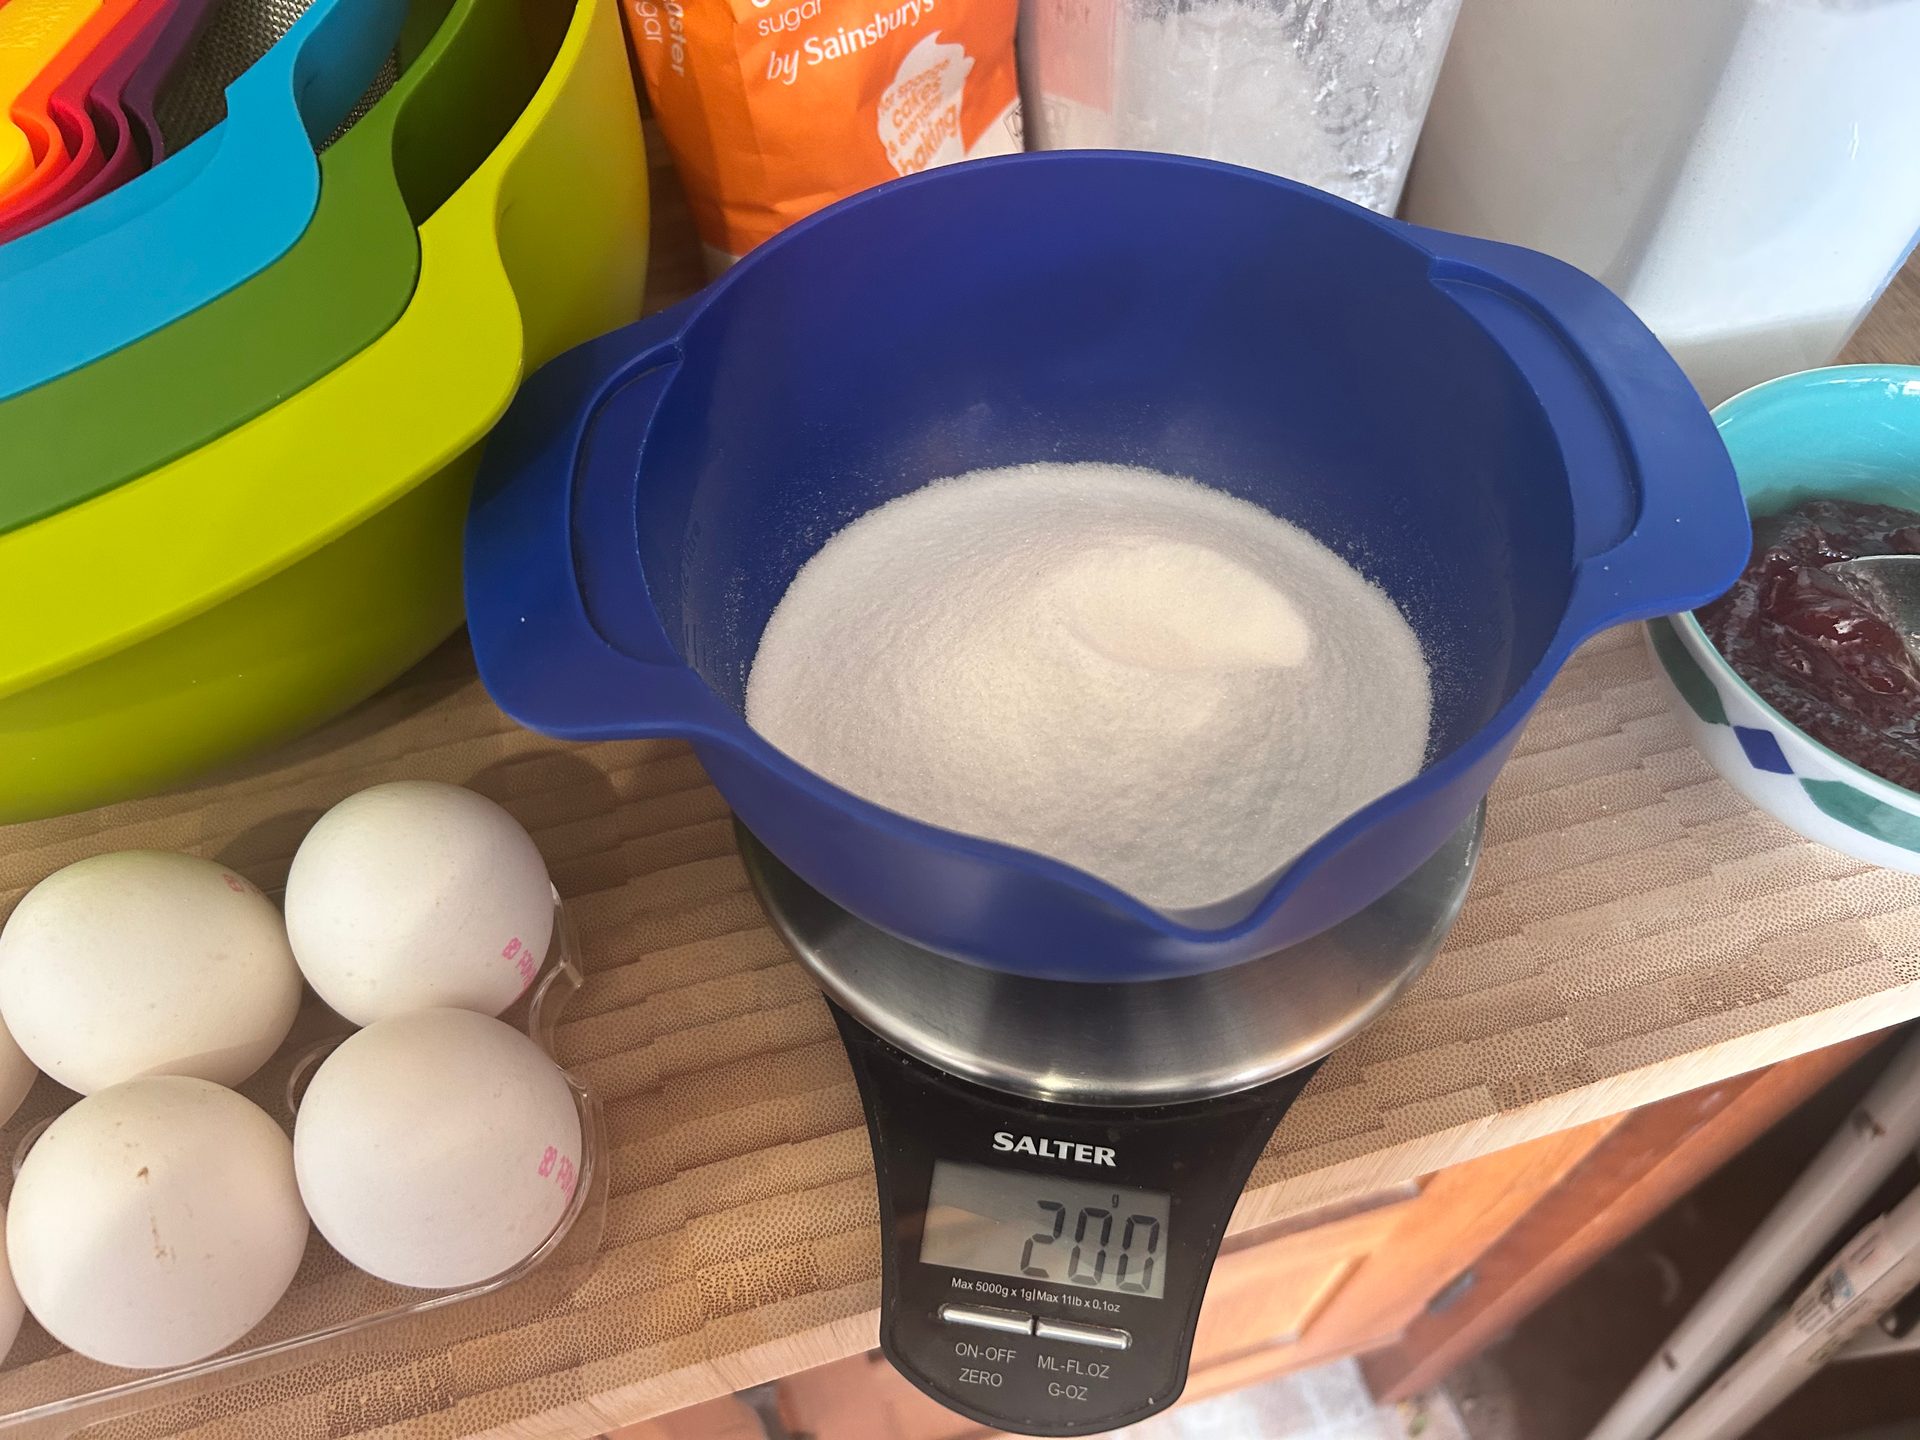
The traditional Victoria sponge is built on a ratio rather than a fixed recipe: equal weights of butter, sugar and self-raising flour, with eggs to bind. Four medium eggs weigh roughly 200g out of their shells, which is where the 200g of everything else comes from. If you want to be precise, crack your eggs into a bowl on the scales first and match the butter, sugar and flour to that weight — this is the old baker’s trick for a perfectly balanced sponge every time, regardless of how big your eggs happen to be.
Two things matter more than anything else. First, room-temperature ingredients: cold butter won’t cream properly and cold eggs can curdle the batter. Take them out an hour before. Second, creaming the butter and sugar thoroughly — this beats air into the mixture, and that trapped air is most of your rise. Pale and fluffy, not just combined.
Equipment
You need two matching 20cm (8 inch) sandwich tins so both layers bake evenly and sit flat. Deep 20cm springform tins work too: that’s what Clare used for her bake above, and both sponges were done in 20 minutes. A twin pack is the cheapest way to get a matched pair — our guide to the best cake tins covers which to buy. For the creaming, a wooden spoon and some patience is enough, but a stand mixer makes light work of it if you bake often. As with bread, an oven thermometer is worth having — most domestic ovens run 10–20°C off their dial, and a sponge is unforgiving of a too-hot oven.
Why sponges go wrong — and how to fix it
- It sank in the middle. Usually the oven door opened too early, or the cake came out underbaked. Wait until at least 18 minutes before checking, and test with a skewer. Too much raising agent can also cause a rise-then-collapse — measure the baking powder level.
- It domed and cracked. The oven was too hot. Drop the temperature 10°C and check it with a thermometer. A domed sponge still tastes fine — just level the top with a knife before filling.
- It came out dry. Overbaked, or too much flour. Take it out the moment a skewer is clean, and weigh your flour rather than scooping it.
- It’s dense and flat. Not enough air. Cream the butter and sugar longer next time, make sure everything was at room temperature, and fold the flour gently rather than beating it.
Variations
Add 300ml of whipped double cream alongside the jam for a fuller cake. Swap the vanilla for the zest of a lemon and fill with lemon curd. Fold in a tablespoon of cocoa (replacing a tablespoon of flour) for a light chocolate sponge. Or keep it exactly as it is — there’s a reason the plain version has lasted this long.
More baking
- Best Cake Tins UK 2026 — the tins worth owning, including the sandwich pair for this sponge
- Kitchen & Food hub — all our bread, cake and preserving guides
🛡 Our standards: How we research · Editorial policy · Affiliate disclosure · Corrections

About Gareth
Gareth Isherwood is the editor of Danbury & Lovejoy. He has baked bread at home for 25+ years and has 15 years of growing experience across gardens, containers and other growing spaces, including an East Sussex allotment for the past three years. Read his full story →
Was this useful?