Some of the links below are affiliate links: if you buy through them we may earn a small commission at no extra cost to you. As an Amazon Associate I earn from qualifying purchases. We only suggest things we would recommend to a friend — see our affiliate disclosure and how we research.
✉ Join the Dispatch — a calm weekly note, every Thursday. Free.
Baking bread at home is genuinely one of the most straightforward things you can do in a kitchen. Four ingredients, no special equipment required, and the result is better than almost anything you can buy. This is where to start.
Most people who haven’t baked bread assume it’s complicated. The reputation precedes it — yeast, proving times, the possibility of something going wrong — and it sounds like a project rather than a meal. It isn’t. A basic white loaf needs flour, water, yeast and salt. The active work is maybe fifteen minutes. The rest is waiting, which the bread does without you.
This guide covers everything a complete beginner needs: the flour choices that matter, how yeast works, what equipment is actually required (and what is emphatically not), a basic method that works reliably, and the mistakes that catch people out the first few times. By the end of your first loaf, the process will already feel considerably less mysterious than it does now.
What you need — and what you don’t
The short list of genuinely required equipment is shorter than most guides suggest.
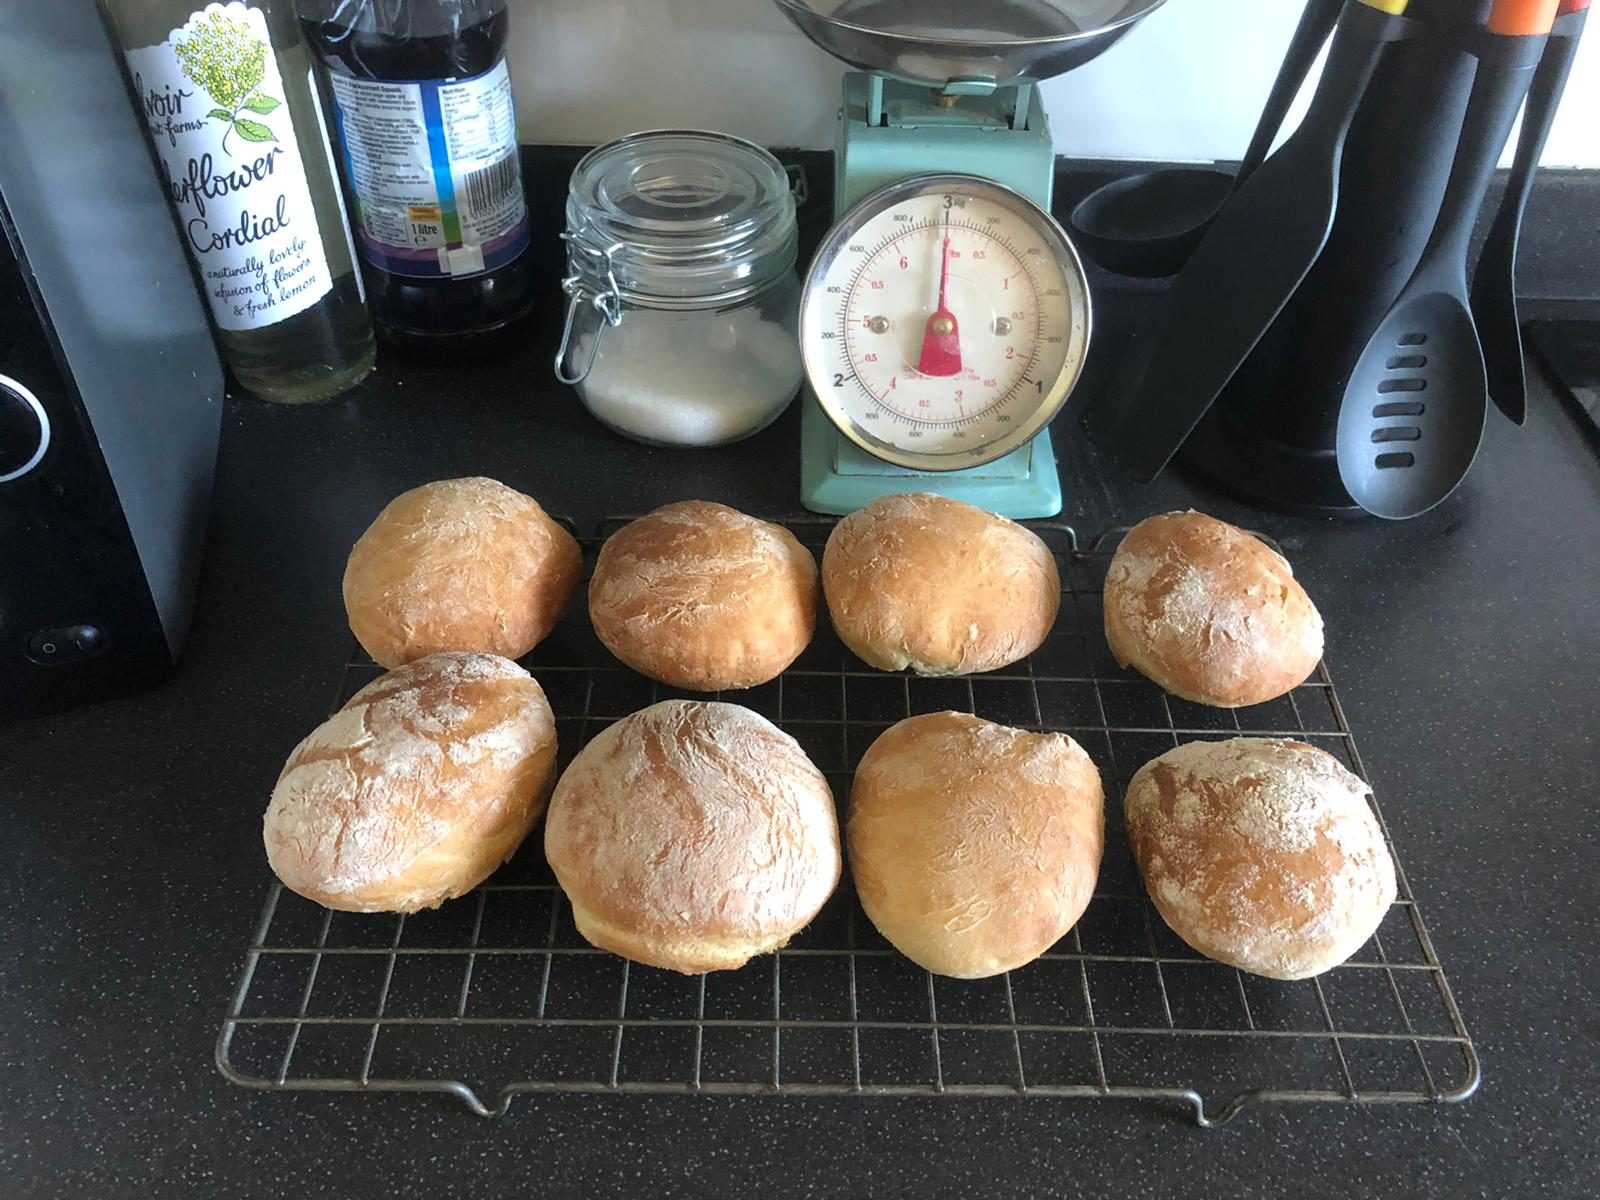
What you need: a large mixing bowl, a loaf tin (roughly 900g / 2lb size), a clean work surface, and an oven. That is all. A dough scraper is useful and costs about £3. Digital scales make weighing accurate and are worth having if you don’t already.

Salter 1036 BKSSDR Digital Kitchen Scale – Cooking & Baking Scales for Food Weight, Stainless Steel Weighing Platform, 5KG Capacity, Tare Function, Large LCD Easy Read Display, Measure Liquids, Black
What you don’t need: a stand mixer, a bread machine, a proving drawer, a steam injection oven, a lame (the blade for scoring), banneton baskets, or any of the equipment that bread-baking content tends to accumulate around itself. These things are worth having if you bake regularly and want to go further. For your first twenty loaves, they’re distractions.
One piece of equipment genuinely worth considering early: a digital instant-read thermometer. A loaf is done when the internal temperature reaches 93–96°C. Tapping the bottom and listening for a hollow sound is the traditional test, but a thermometer removes all ambiguity for about £10. See our guide to bread equipment for what’s worth buying at each stage.

ThermoPro TP19 Waterproof Food Thermometer Thermocouple Instant Read Cooking Thermometer for Kitchen BBQ Digital Meat Thermometer with Ambidextrous Backlit for Candy Jam Chocolate
Flour: what to buy and why it matters
Bread flour — sold as strong white bread flour or strong wholemeal bread flour in UK supermarkets — has a higher protein content than plain flour. That protein forms the gluten network that gives bread its structure and chew. Plain flour will make a loaf, but it will be denser and less satisfying.
For your first loaf: strong white bread flour. It’s the most forgiving, produces the lightest result, and is available in every supermarket. Allinson, Marriages and Hovis are all reliable. You don’t need to spend more than the basic supermarket own-brand, though the quality does vary — if you’re finding a particular flour frustrating, trying a different brand is worth doing.
When you’re ready to explore: wholemeal, seeded, rye. Wholemeal loaves are denser and need slightly more water. Rye behaves differently from wheat and is a significant step up in complexity — not where to start. A 50/50 mix of strong white and wholemeal is a good intermediate step that gives a slightly more interesting flavour without complicating the process.
Flour keeps well in a cool, dry place. A 1.5kg bag makes approximately three standard loaves.
Yeast: fresh, dried or instant
Yeast is what makes bread rise. It eats the sugars in the flour and produces carbon dioxide, which inflates the gluten network and gives bread its open, airy texture. Without yeast (or an alternative like sourdough starter or bicarbonate of soda) the result is flatbread.
For beginners: instant dried yeast (also called fast-action or easy-bake yeast). It comes in 7g sachets, doesn’t need to be activated in water before use, and can be mixed directly into the flour. Reliable, inexpensive, and available everywhere. Allinson Easy Bake yeast is the standard UK recommendation.
Active dried yeast needs to be dissolved in warm water before use (a step called proofing). It works well but adds a small complication that isn’t necessary for beginners.
Fresh yeast is excellent but hard to source — some supermarket bakery counters sell it, as do specialist bakers. Worth trying eventually; not where to start.
One 7g sachet of instant yeast is right for a standard 500g flour loaf. More yeast doesn’t make bread rise faster in a useful way — it can make it taste slightly yeasty. Stick to the quantity in the recipe.
The basic method
This is a reliable method for a standard white loaf. Once you’ve made it two or three times, you won’t need to refer back to it.
Ingredients (makes one 900g loaf)
- 500g strong white bread flour
- 7g instant dried yeast (1 sachet)
- 10g fine salt
- 300ml warm water (roughly body temperature — not hot)
- 1 tbsp olive oil or vegetable oil (optional, but improves the crust and crumb)
Method
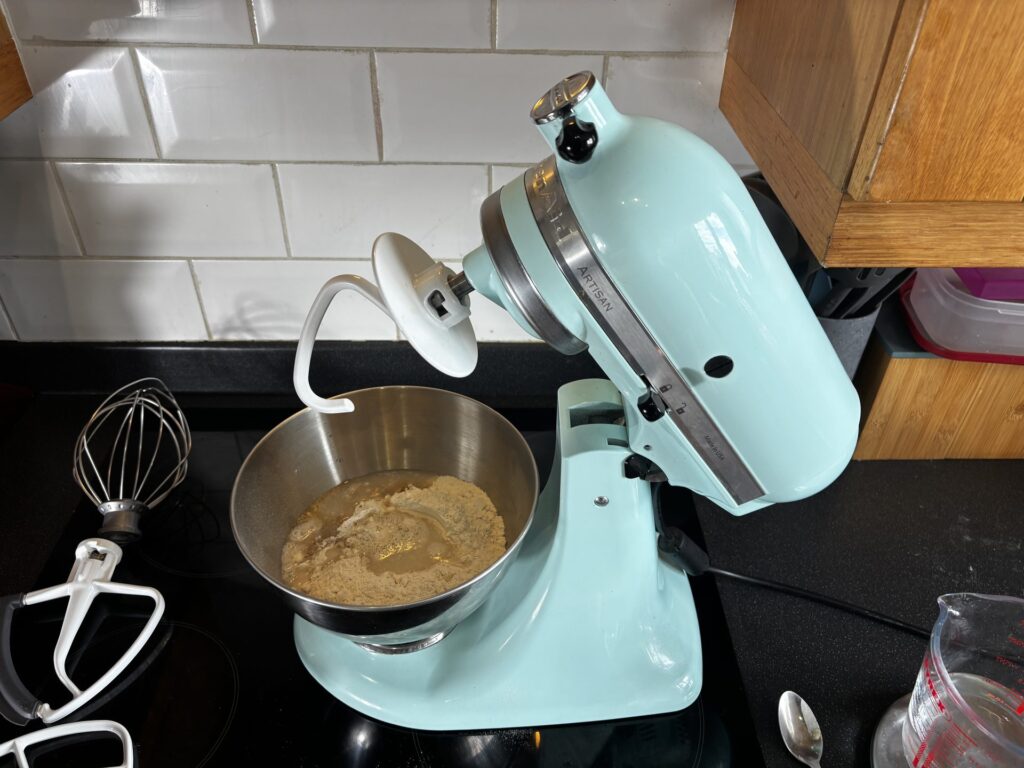
1. Mix. Put the flour, yeast and salt into a large bowl. Add the oil if using. Make a well in the centre and pour in most of the water. Mix with your hand or a wooden spoon until a rough dough forms. Add the remaining water a little at a time if needed — you want a dough that’s slightly tacky but not wet. Different flours absorb water differently, so treat the quantity as a guide rather than a fixed number.
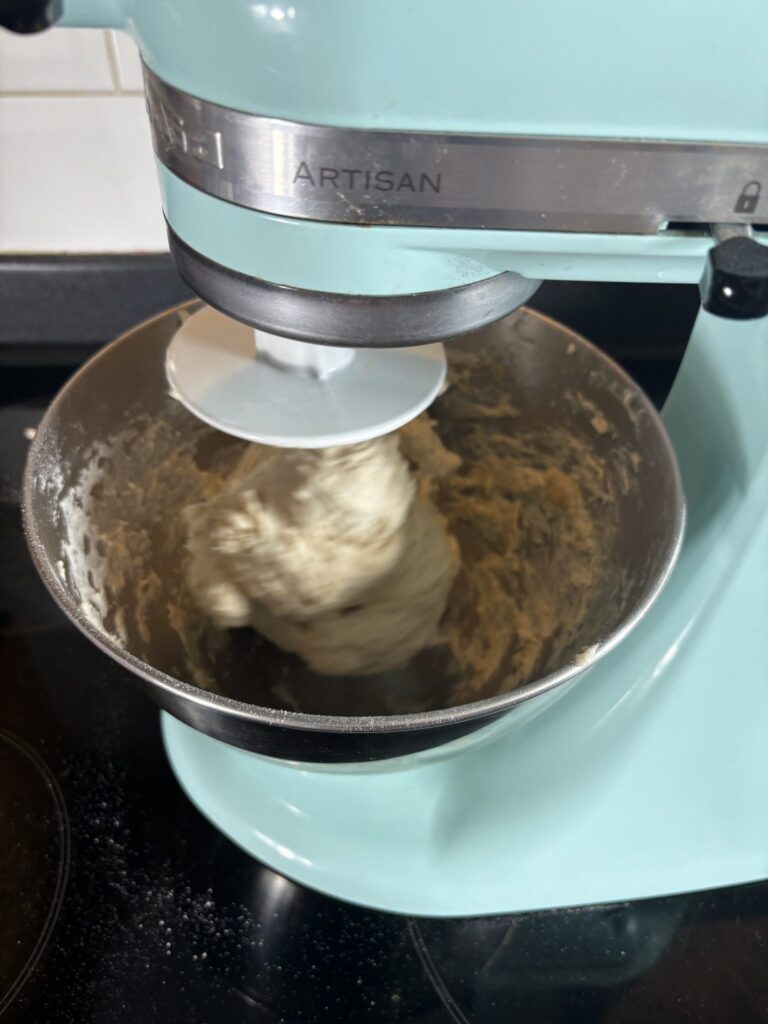
2. Knead. Turn the dough out onto a lightly floured surface and knead for 10 minutes. Kneading means pushing the dough away from you with the heel of your hand, folding it back, turning it a quarter turn, and repeating. The dough should become smoother and more elastic as you work it. After 10 minutes it should be noticeably different — less sticky, more pliable, with a slightly silky surface. If you’re using a stand mixer with a dough hook, 7 minutes on a medium speed does the same work.
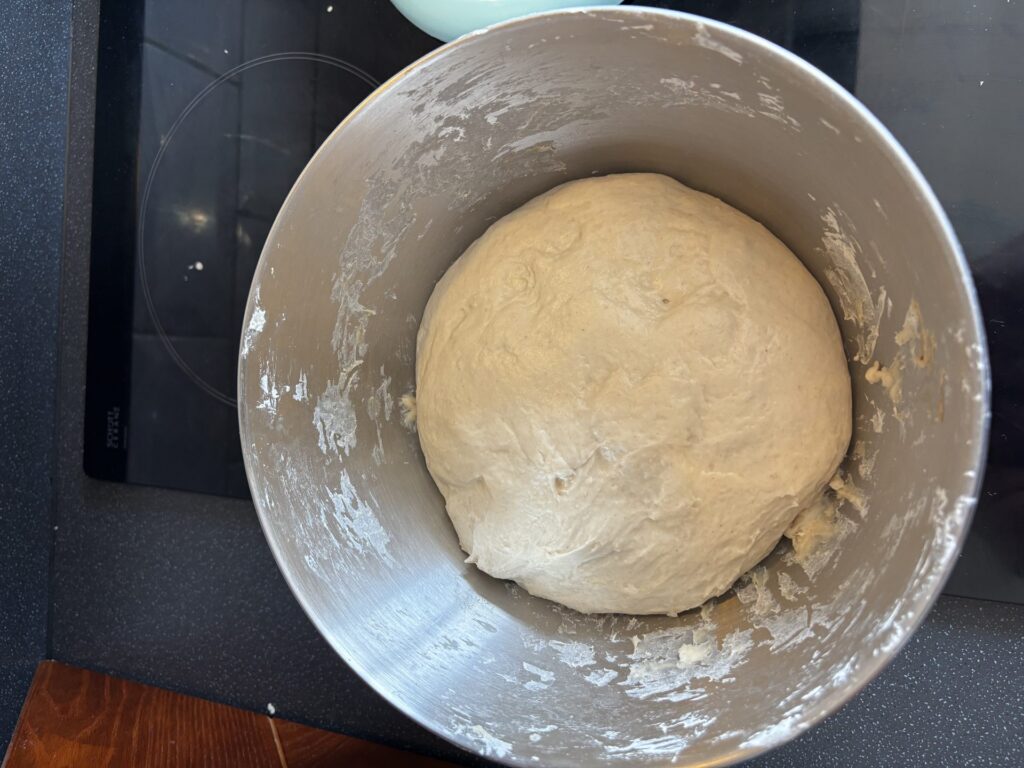
3. First prove. Put the dough back in the bowl, cover with a clean damp tea towel or cling film, and leave somewhere warm for 1–1.5 hours until roughly doubled in size. A warm kitchen is fine. The airing cupboard works well. The proving time varies with temperature — in a cold kitchen it might take 2 hours; in a warm one, 45 minutes. You’re looking for doubled size, not a fixed time.
4. Shape. Tip the dough out, knock it back (press it down gently to release the gas), then shape it into a rough rectangle and roll it tightly into a log shape. Put it into a greased loaf tin, seam side down.
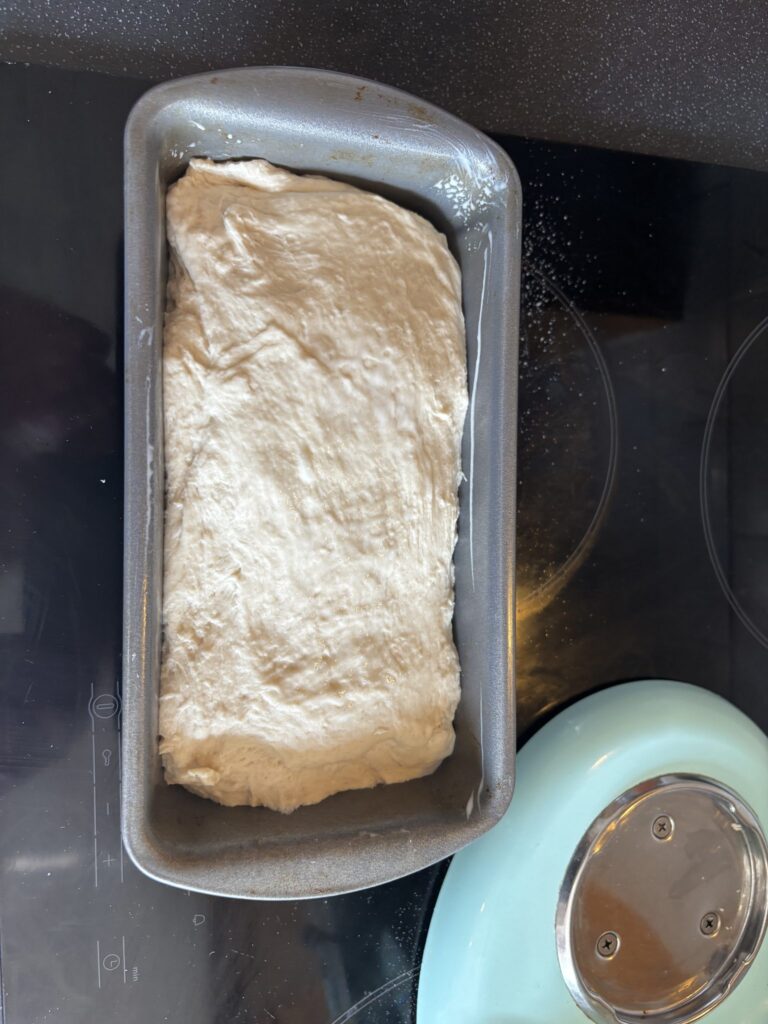
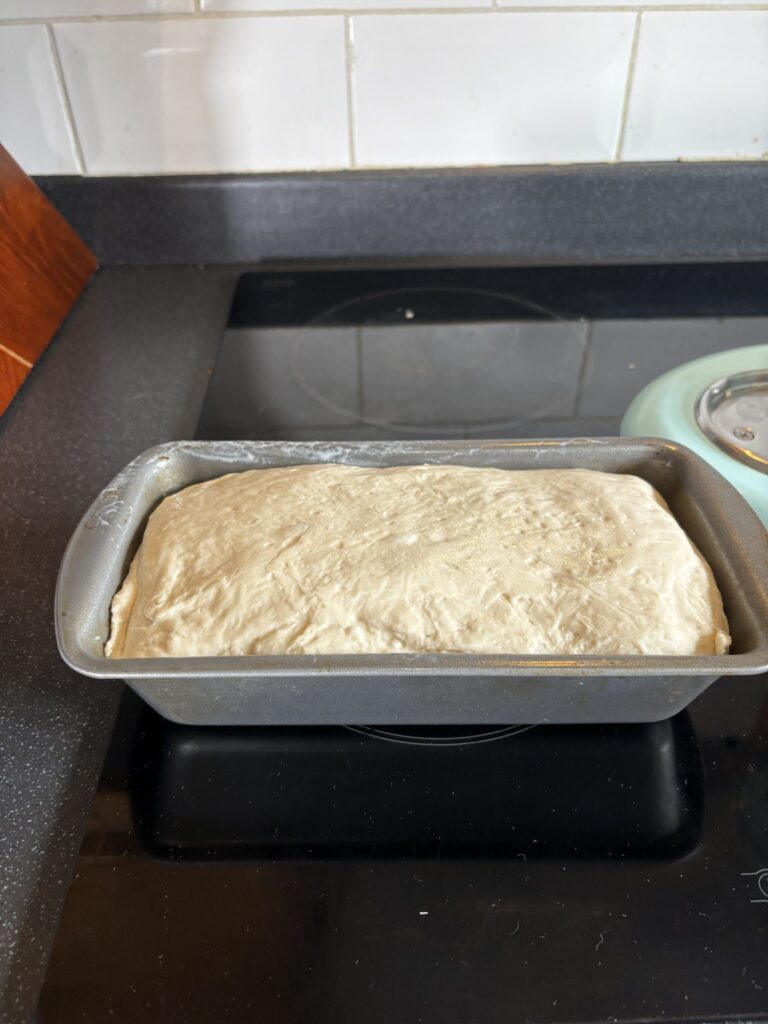
5. Second prove. Cover again and leave for 30–45 minutes until the dough has risen above the rim of the tin. Preheat your oven to 220°C (fan 200°C) during this time.
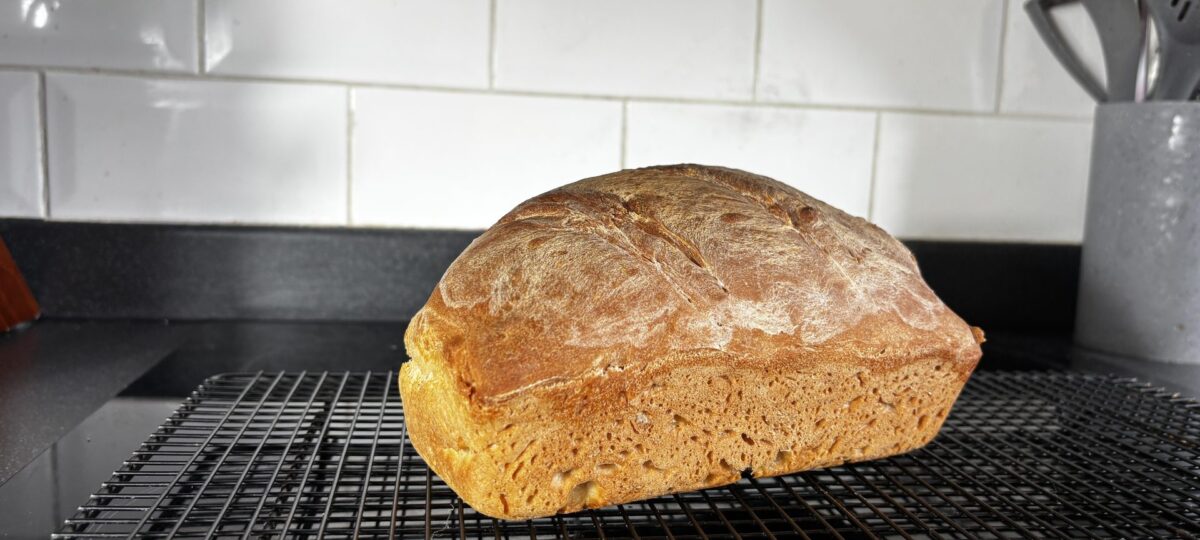
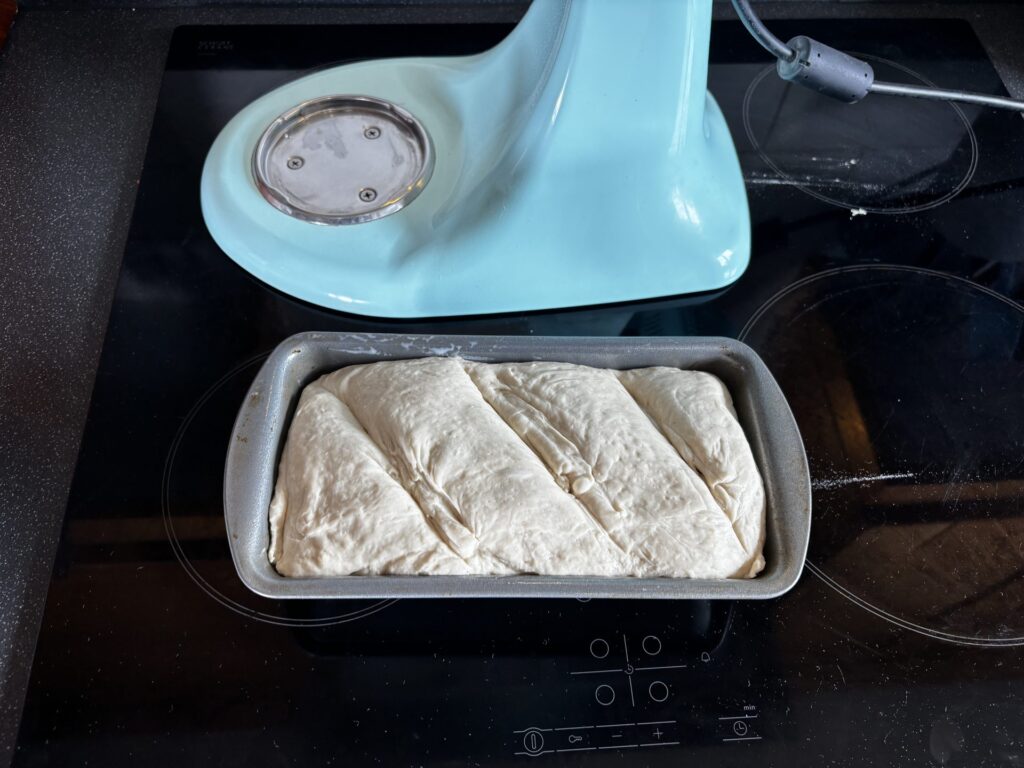
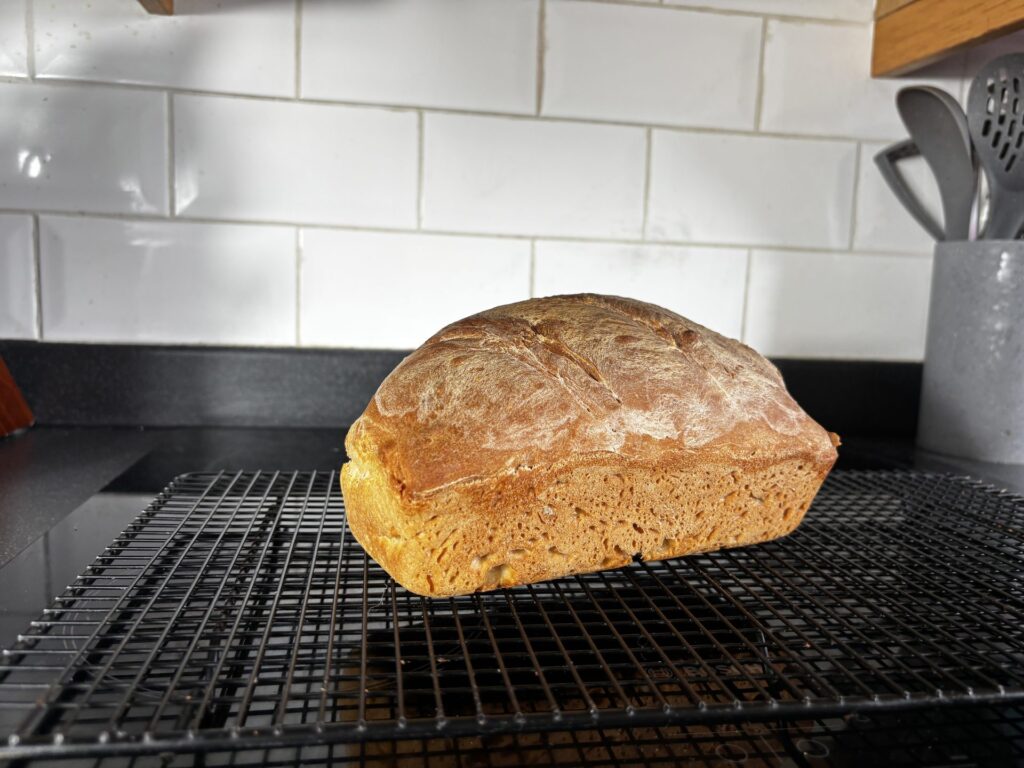
6. Bake. Slash the top of the loaf with a sharp knife — one or three diagonal cuts, about 1cm deep. This isn’t decorative; it controls where the loaf expands in the oven. Bake for 25–30 minutes until golden brown. The loaf is done when the internal temperature reaches 93–96°C, or when tapping the base produces a hollow sound.
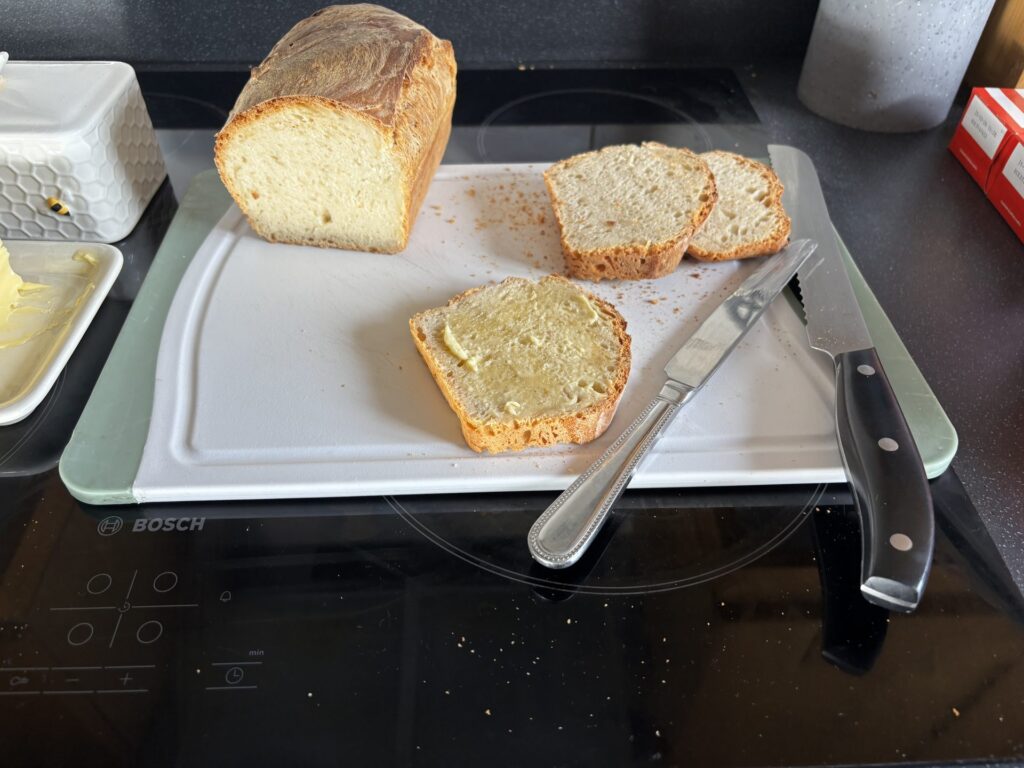
7. Cool. Transfer to a wire rack and leave for at least 30 minutes before cutting. Cutting into hot bread compresses the crumb and makes it gummy. The wait is worth it.
The proving: what’s actually happening
The two proving stages aren’t interchangeable and both matter. The first prove develops flavour — the yeast is metabolising, producing not just carbon dioxide but also the compounds that give bread its taste. A longer, slower first prove (in a cool place, or even overnight in the fridge) produces a more flavourful loaf. The second prove builds the final structure before the heat of the oven sets it.
Cold retarding — putting the shaped dough in the fridge overnight for the second prove — is a baker’s technique worth knowing. You make the dough in the evening, shape it, put it in the tin covered in the fridge overnight, and bake it cold from the fridge the next morning after about 20 minutes at room temperature. The cold slow prove develops flavour significantly and makes the timing more flexible.
Common mistakes and how to avoid them
The dough didn’t rise. Almost always a yeast problem. The yeast may have been old (check the date), or the water may have been too hot (above 40°C kills yeast). Warm but not hot — you should be able to hold your wrist against the container comfortably. Also check that salt didn’t go directly onto the yeast before mixing; salt inhibits yeast if they’re in direct contact.
The loaf is dense. Usually insufficient kneading (the gluten network isn’t developed enough to trap the gas properly), or under-proving (the dough didn’t have time to build structure before baking). Both are correctable on the next attempt.
The crust is pale and the crumb is gummy. Under-baked. Trust the thermometer over the colour — a loaf can look done while being several degrees under. Ovens vary considerably and the stated temperature is often inaccurate by 10–15°C. An oven thermometer (around £5) tells you what your oven is actually doing.
The bread is fine but stales quickly. This is normal for home bread without the additives supermarket bread uses. Homemade bread is best on the day it’s made, good on the second day toasted, and best frozen in slices after that. A bread box (rather than a plastic bag) keeps a loaf better for the first two days.
The top cracks unevenly. Not enough scoring before baking, or the cuts weren’t deep enough. Score decisively — a shallow hesitant cut tears rather than opening cleanly.
Once the basic loaf is working
When a standard white loaf feels reliable — when you can make one without consulting notes and the result is consistently good — the obvious next step is the no-knead method, which produces a different kind of loaf (open crumb, crackly crust) with even less active effort. The no-knead loaf guide covers this specifically.
After that: adding seeds or grains to the dough, trying a 50/50 white and wholemeal mix, or exploring sourdough — which is a genuine step up in complexity and commitment, but worth considering once the basics feel natural.
For everything else in the baking section — crumbles, biscuits, preserves — see the baking hub. And for the kitchen context this all sits within, the saving money in the kitchen guide is worth reading alongside it: a homemade loaf costs roughly 40–60p in ingredients versus £1.50–£3 for a supermarket equivalent.
If kneading by hand isn’t your thing, a stand mixer with a dough hook does the work — see our stand mixer picks for UK kitchens.
If you’re looking for the full picture, our the easy no-knead loaf covers what we’d actually buy.
If the machine in your kitchen is doing the kneading for you, we keep recipe sets written to each one: Tower, Panasonic, Russell Hobbs, Morphy Richards and Salter.
🛡 Our standards: How we research · Editorial policy · Affiliate disclosure · Corrections

About Gareth
Gareth Isherwood is the editor of Danbury & Lovejoy. He has baked bread at home for 25+ years and has 15 years of growing experience across gardens, containers and other growing spaces, including an East Sussex allotment for the past three years. Read his full story →
Was this useful?