Preparing beds for spring planting is the most satisfying work of the early gardening year — a bit of clearing and feeding now pays back through the whole season. This guide covers what to do and in what order, without overcomplicating it. For what to sow once your beds are ready, see our March sowing guide. The RHS March jobs list is a thorough seasonal reference.
March is the right time to give your beds proper attention before the growing season begins. A few hours spent preparing now means less work all summer and significantly better yields from the crops you plant.
My allotment near the East Sussex coast is on chalk with a thin layer of topsoil — it drains fast, loses organic matter quickly, and needs attention every spring to stay productive. A good March routine is simple: clear debris, check for perennial weeds, add a layer of compost to the surface. It takes one good afternoon, and the beds are ready to sow into almost immediately.
Clear winter debris first
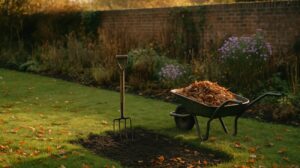
Remove all dead plant material, old roots, and winter mulch that’s rotted. Clear fallen leaves from around beds and pathways. Decaying plant material harbours slugs and fungal spores that cause disease — starting with a clean bed matters, especially on a plot that’s been producing for several years.
Don’t burn or throw away healthy plant material — add it to the compost heap. Old roots and tougher material can go on too; they’ll break down eventually. Pile it into the centre of the heap and turn it in April, once the season picks up.
Assess and improve your soil
Do a simple squeeze test. Take a handful of damp soil and squeeze it. If it holds together tightly and doesn’t break apart easily — heavy clay, needs compost for drainage. If it falls apart into individual grains — sandy, needs compost for water retention. If it holds loosely and crumbles easily — loam, the ideal. Chalk soils behave almost like sand: they drain quickly and lose nutrients fast, so the annual compost layer matters even more there.
Adding 5–10cm of compost to the top of beds every year gradually improves all soil types. The improvement accumulates over several seasons — beds that have had consistent annual top-dressing for five years grow significantly better crops than those that haven’t.
Top-dressing with compost
The simplest and most effective spring job: spread 5–10cm of compost (homemade or bought) across the surface of each bed. Don’t dig it in. Worms and soil microbes will incorporate it naturally over weeks. This no-dig method is now standard practice for most experienced kitchen gardeners because it builds soil structure, improves water retention, and doesn’t disrupt the beneficial organisms living in the soil. It’s also far easier on the back than digging.
On compost quality: the best material for top-dressing is well-rotted homemade compost — dark, crumbly, with no recognisable original material. Bought peat-free multipurpose compost works well and is worth seeking out; it’s now comparable in quality to peat-based alternatives. Don’t use fresh kitchen scraps or incompletely rotted material — it can introduce disease and the high nitrogen content can scorch seedling roots.
Checking for weed growth
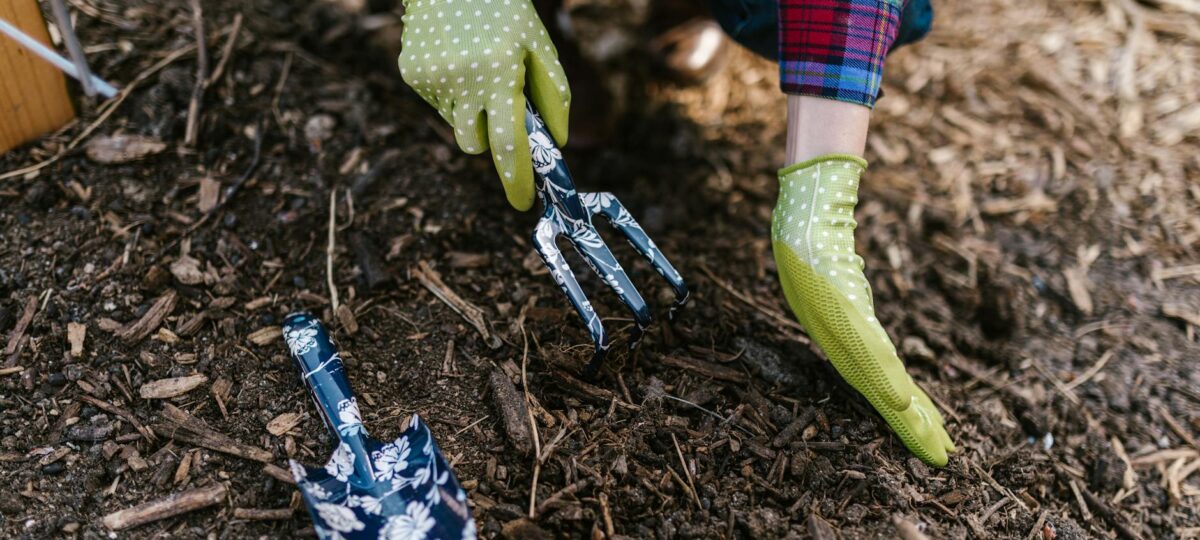
Deal with perennial weeds — bindweed, couch grass, dandelions — before you sow. These regenerate from root fragments and are much harder to control once crops are growing around them. Dig them out carefully, removing as much root as possible — a sturdy border fork earns its keep here (see our best garden tools picks). For heavily weedy areas, layering cardboard before adding compost suppresses growth while the cardboard rots away — effective and low-effort.
Perennial weeds tend to creep in along the edges near paths, so give those edges particular attention in March. Beds that are top-dressed every year stay clearer in the middle, because the compost layer suppresses annual weed germination.
Raised beds: extra considerations
Check raised bed boards and fixings. Winter frost and thaw cycles cause movement — tighten loose bolts or screws and replace any boards that have rotted — if a bed is beyond patching, our guide to the best raised garden beds covers the timber-vs-metal-vs-recycled trade-off. This is the most practical time to do it, before plants are growing and in the way. Top up beds that have settled over winter: 2–5cm of settlement is normal over a year. Add fresh compost to bring beds back to level. If a bed has lost a lot of height, you may need to add new soil as well as compost.
Building a new raised bed on a small plot
I’ve built raised beds in four growing spaces, and tried fabric, galvanised steel, timber and tiered designs. Whatever the material, the decisions that matter most are size, depth and position:
- Width: about 1.2m is the most you can comfortably reach across from both sides, so you never need to step on the soil. Against a wall or fence, where you can only reach from one side, keep it nearer 60cm.
- Small spaces: a 1m × 1m bed works well on a patio or in a yard, and a 60cm × 120cm bed is a productive size for salads and herbs. A long, narrow bed is usually more useful than a square one.
- Depth: 30cm suits most crops. Go to 40–45cm if you want long carrots or parsnips, or 45–60cm if bending is difficult.
- Position: the sunniest spot you have (most vegetables want six hours of sun or more), away from overhanging trees, and within easy reach of water.
- Filling: if you’re building on grass or weeds, lay cardboard first, then fill with topsoil mixed with compost rather than either on its own. A 1.2m × 2.4m bed 30cm deep takes about 0.86 cubic metres. Avoid old railway sleepers treated with creosote.
Fill a new bed a few weeks before you plan to sow, water it in, and top it up once it has settled.
Planning what goes where
Ten minutes with a pencil before you sow saves moving things later:
- Put tall crops (peas and beans on supports, staked tomatoes) on the north side, where they won’t shade everything else.
- Keep quick crops (salad leaves, radishes, spring onions) to the edges and ends, where you can pick them without disturbing larger neighbours.
- Think about July as well as April: a courgette or squash planted in May will spread over everything near it by midsummer.
- If you have several beds, rotate the main groups (brassicas, roots, onions and garlic, peas and beans) so the same group isn’t in the same bed two years running. With only one or two beds, simply avoid following a crop with another from the same group.
- Sow salads, radishes and beetroot little and often, a short row every two to three weeks, rather than all at once, and fill quick crops between slow ones (radishes between parsnip rows, for example).
What to plant first, and in what order
Raised beds warm up faster than open ground, so they can usually be sown a little earlier. A rough order for the year:
- March to April: broad beans (if not sown in autumn), peas, onion sets and shallots, first early potatoes, and the first short rows of salad leaves, spinach and spring onions. Keep fleece handy for cold nights.
- April to May: beetroot and carrots sown direct, leek transplants, and brassica plants from modules (net them the day they go in).
- After the last frost: courgettes, French beans and tomatoes. That is usually mid- to late May in much of the UK, later further north.
As each early crop comes out, follow it with something else: a late sowing of French beans after the peas, or winter brassicas after the first potatoes.
When should I start preparing my beds for spring?
As soon as soil is workable — when it doesn’t stick heavily to your boots. In the south, often late February. In most of the UK, early to mid-March is ideal. If soil is waterlogged, wait a week or two; digging wet soil damages its structure.
Should I dig my beds over in spring?
Not necessarily. The no-dig approach — layering compost on top without digging — is widely recommended and considerably easier. It also preserves soil structure and doesn’t disturb the organisms working in the soil. On most plot types, top-dressing and leaving the worms to do the incorporation is more effective than annual digging.
The March bed preparation principle
Clear, assess, add compost. That’s the whole routine. On chalk or sandy soil, a generous layer — 8–10cm — is worth it. On better soils, 5cm is usually enough. Beds that are top-dressed consistently over several seasons become visibly different in texture, colour and water retention. The investment takes an afternoon each season and pays back all summer.
🌱 From the D&L Shop: Easing into a new season? Our Sunday Reset Checklist is a free printable — a calming weekly routine to help you feel organised and ready for the week ahead. Browse the full shop →
🛡 Our standards: How we research · Editorial policy · Affiliate disclosure · Corrections · Last reviewed: April 2026

About Gareth
Gareth Isherwood is the editor of Danbury & Lovejoy. He has baked bread at home for 25+ years and has 15 years of growing experience across gardens, containers and other growing spaces, including an East Sussex allotment for the past three years. Read his full story →
Was this useful?